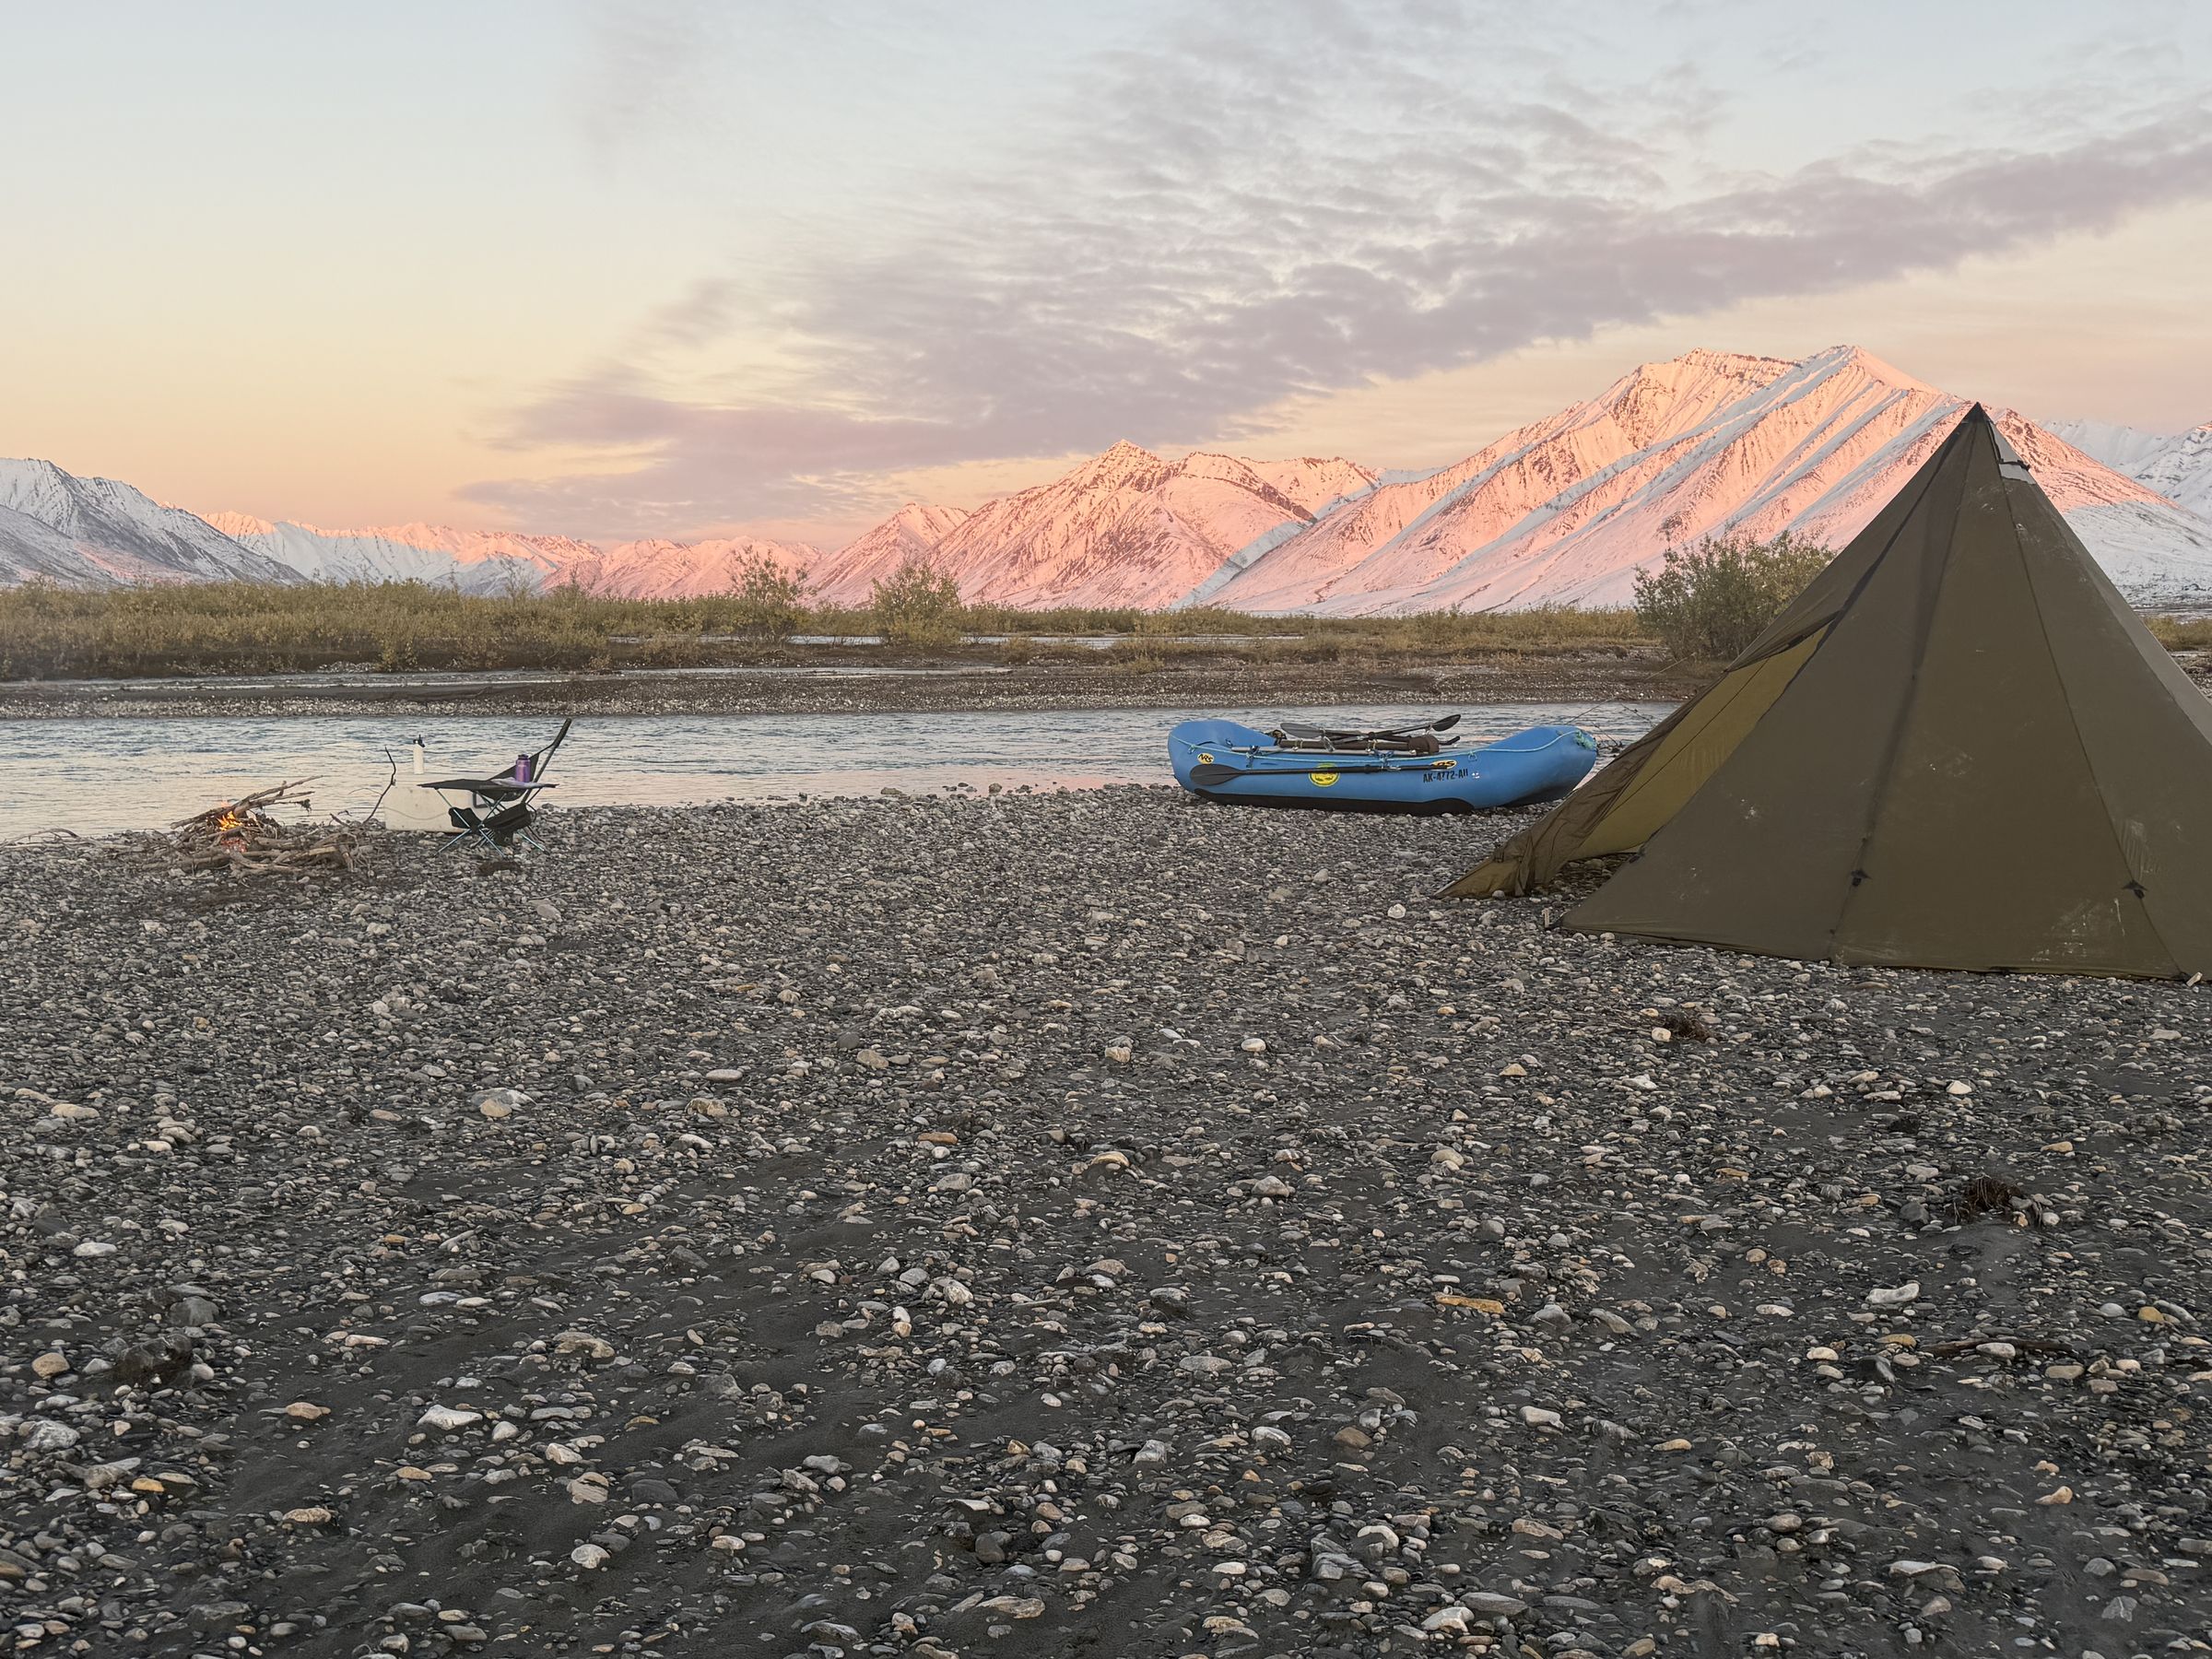
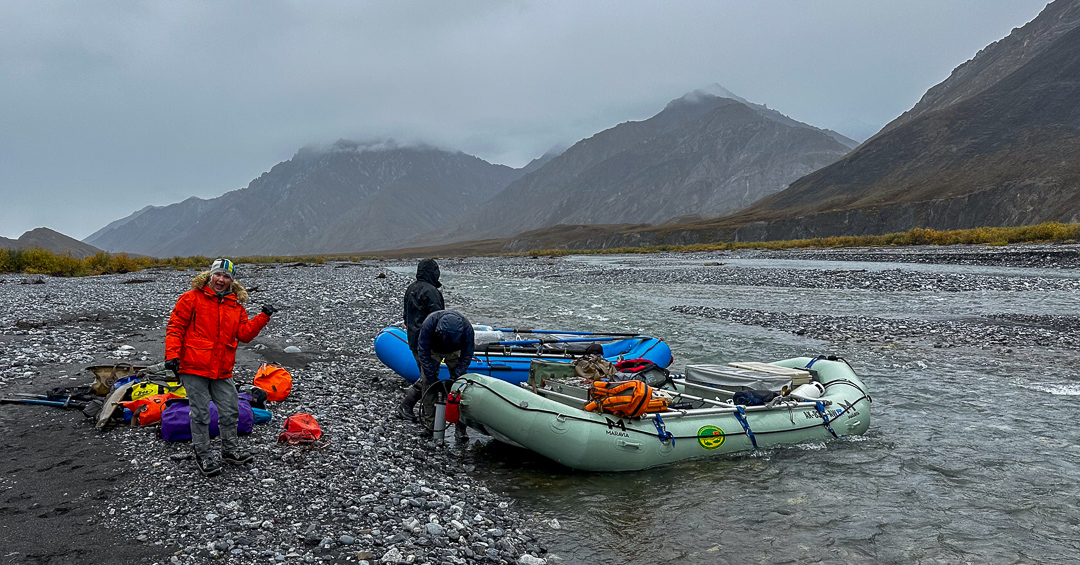
Packing for an Arctic Alaska float trip can be confusing. On the same trip, you might see an afternoon in the 70s followed a few days later by freezing temperatures, wind, rain, or even snow. You need enough clothing to stay comfortable through that range without bringing your entire closet with you.
The goal isn’t to pack enough clothing to have a fresh outfit every day. Most of the clothing I bring gets worn repeatedly over the course of a trip. Instead, I bring a relatively small number of layers that work together in different combinations. As temperatures and weather change, I add or remove pieces without needing a separate outfit for every possible condition.
That’s the basic approach I’d recommend when packing for one of these trips: fewer, more versatile pieces that work together rather than a large collection of individual outfits.
A packing checklist helps, but checklists have limitations. Telling someone to bring a “midweight insulating layer” isn’t especially useful if neither of us knows what “midweight” means. Different manufacturers use terms like lightweight, midweight, and heavyweight differently, and two pieces described the same way may provide very different amounts of warmth. This post is intended to fill in those gaps.
The gear shown here is what I actually take when I’m guiding a trip. I’m not suggesting that you need to buy the same brands or exact products. You may already own something that does exactly the same job. I’ve also included other examples where I think they’ll help clarify what I’m talking about. I have not done extensive testing across brands to identify the “best” piece of equipment in any category. These are simply the items I’ve found that work.
This article is aimed primarily at the August and September fishing trips I guide on the Kobuk and Ivishak Rivers. Early-summer trips on the Marsh Fork involve somewhat different conditions and considerably more off-river travel, so I’ll cover those separately.
This should all fall within the roughly 40-pound weight limit for personal gear on most trips, particularly if you focus on versatile layers rather than bringing multiple pieces that do essentially the same job.
This is also about what to bring and why, not everything there is to know about using it. In a follow-up article I’ll get into how I actually combine these layers, what stays accessible during the day, managing wet clothing and gloves, and adapting the system as conditions change.
A Note About Clothing Weights
Terms like “lightweight,” “midweight,” and “heavyweight” can be frustratingly vague. Where it’s useful, I’ll give the actual fabric or insulation weight of the clothing I’m using instead.
Don’t get hung up on matching those numbers exactly. A 330-weight merino layer isn’t necessarily less warm than every 350-weight layer, and a 350-weight synthetic fleece isn’t directly equivalent to 350-weight merino. Fabric construction, loft, material, fit, and other factors all affect how a garment actually performs.
The numbers, photos, and other examples are simply intended to give you a better reference for the kind of layer I’m talking about, not a shopping list you need to duplicate.
The Basic Layering System
100-150 Weight Baselayer Top
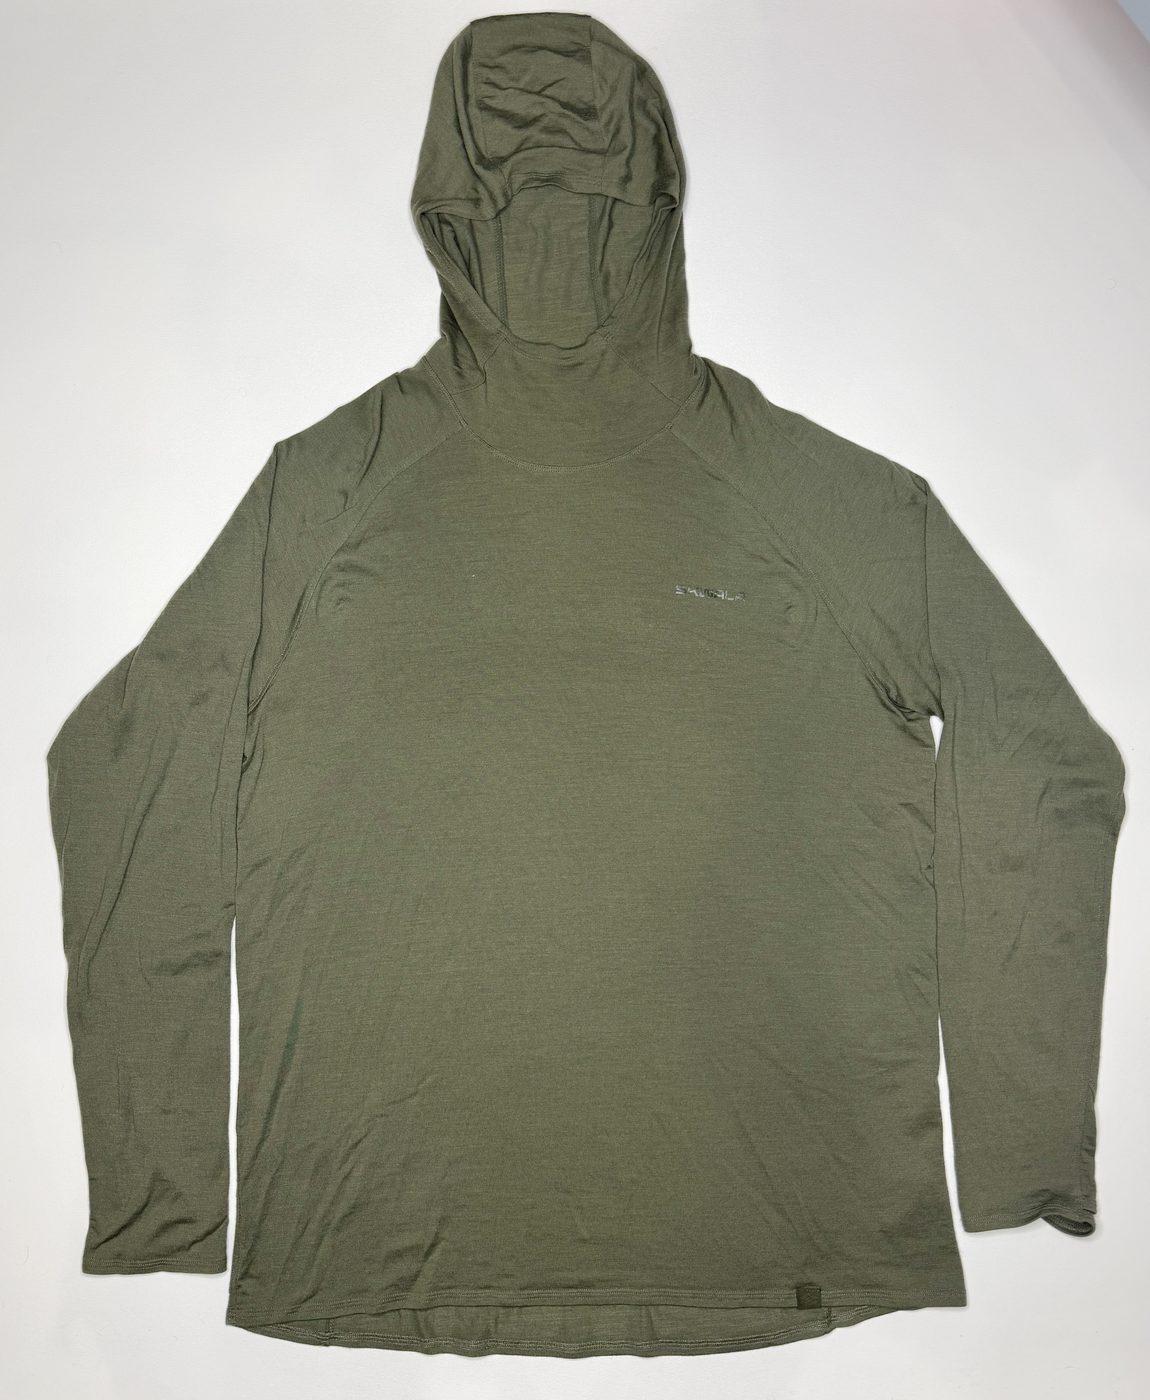
This is my primary upper-body baselayer. I put it on before getting on the bush plane and there’s a pretty good chance it won’t come off until the end of the trip.
Merino wool and good synthetic fabrics both work. I personally use a lightweight merino hoody around 150 weight. It’s light enough to wear comfortably in relatively warm weather, provides some warmth when temperatures drop, and works well underneath every other layer in the system.
A hood isn’t mandatory, but I find one useful enough that most of my upper-body layers have one.
Shown: Skwala Thermo 150 Hoody
Other examples: First Lite Wick Hoody; KUIU ULTRA Merino 145 Zip-T Hoodie; REI Co-op Merino 185 Base Layer Top; Patagonia Capilene Lightweight Crewneck
Light Sun and Bug Shirt
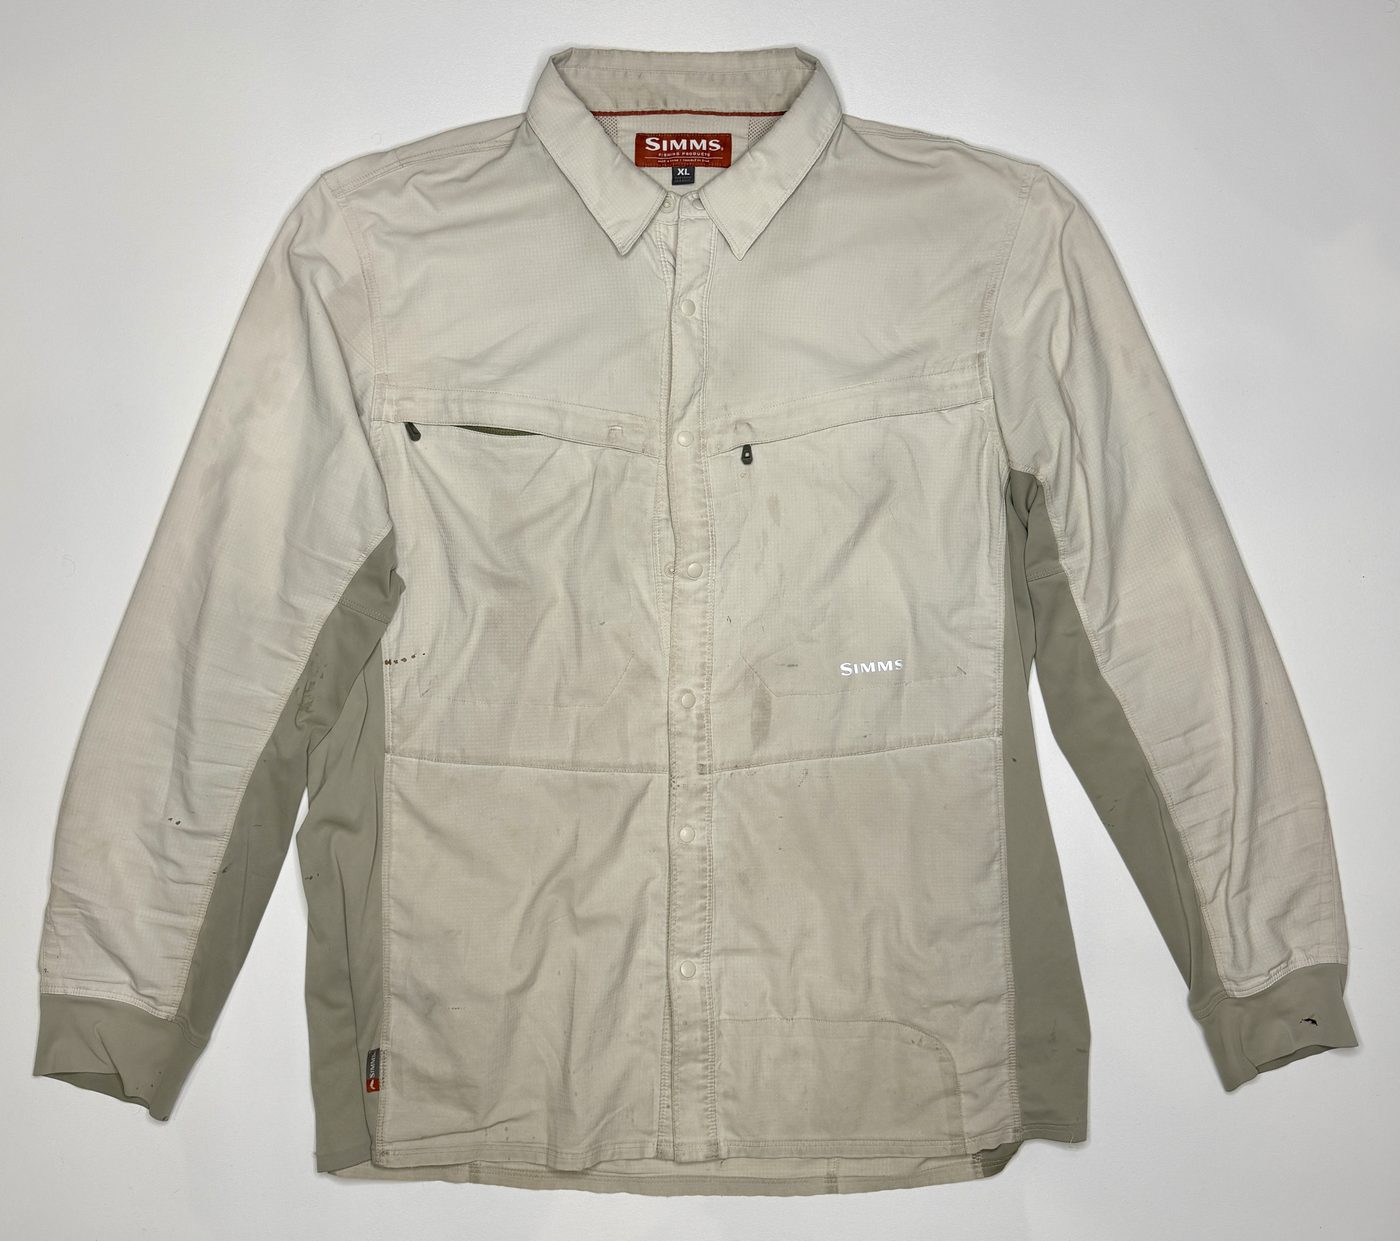
This is a lightweight synthetic fishing shirt worn over the baselayer. On mild days, those two pieces may be all I need.
Look for something light, quick-drying, breathable, and comfortable enough to wear all day. Long sleeves provide additional sun and insect protection. A traditional button or snap-front fishing shirt works well.
Between this and a hooded sun shirt, one or two lightweight fishing shirts total is plenty.
Shown: Simms Latitude BiComp Shirt
Other examples: Columbia PFG Tamiami II Long Sleeve Shirt; Orvis Open Air Caster; Outdoor Research Astroman Long Sleeve Sun Shirt
Hooded Sun Shirt
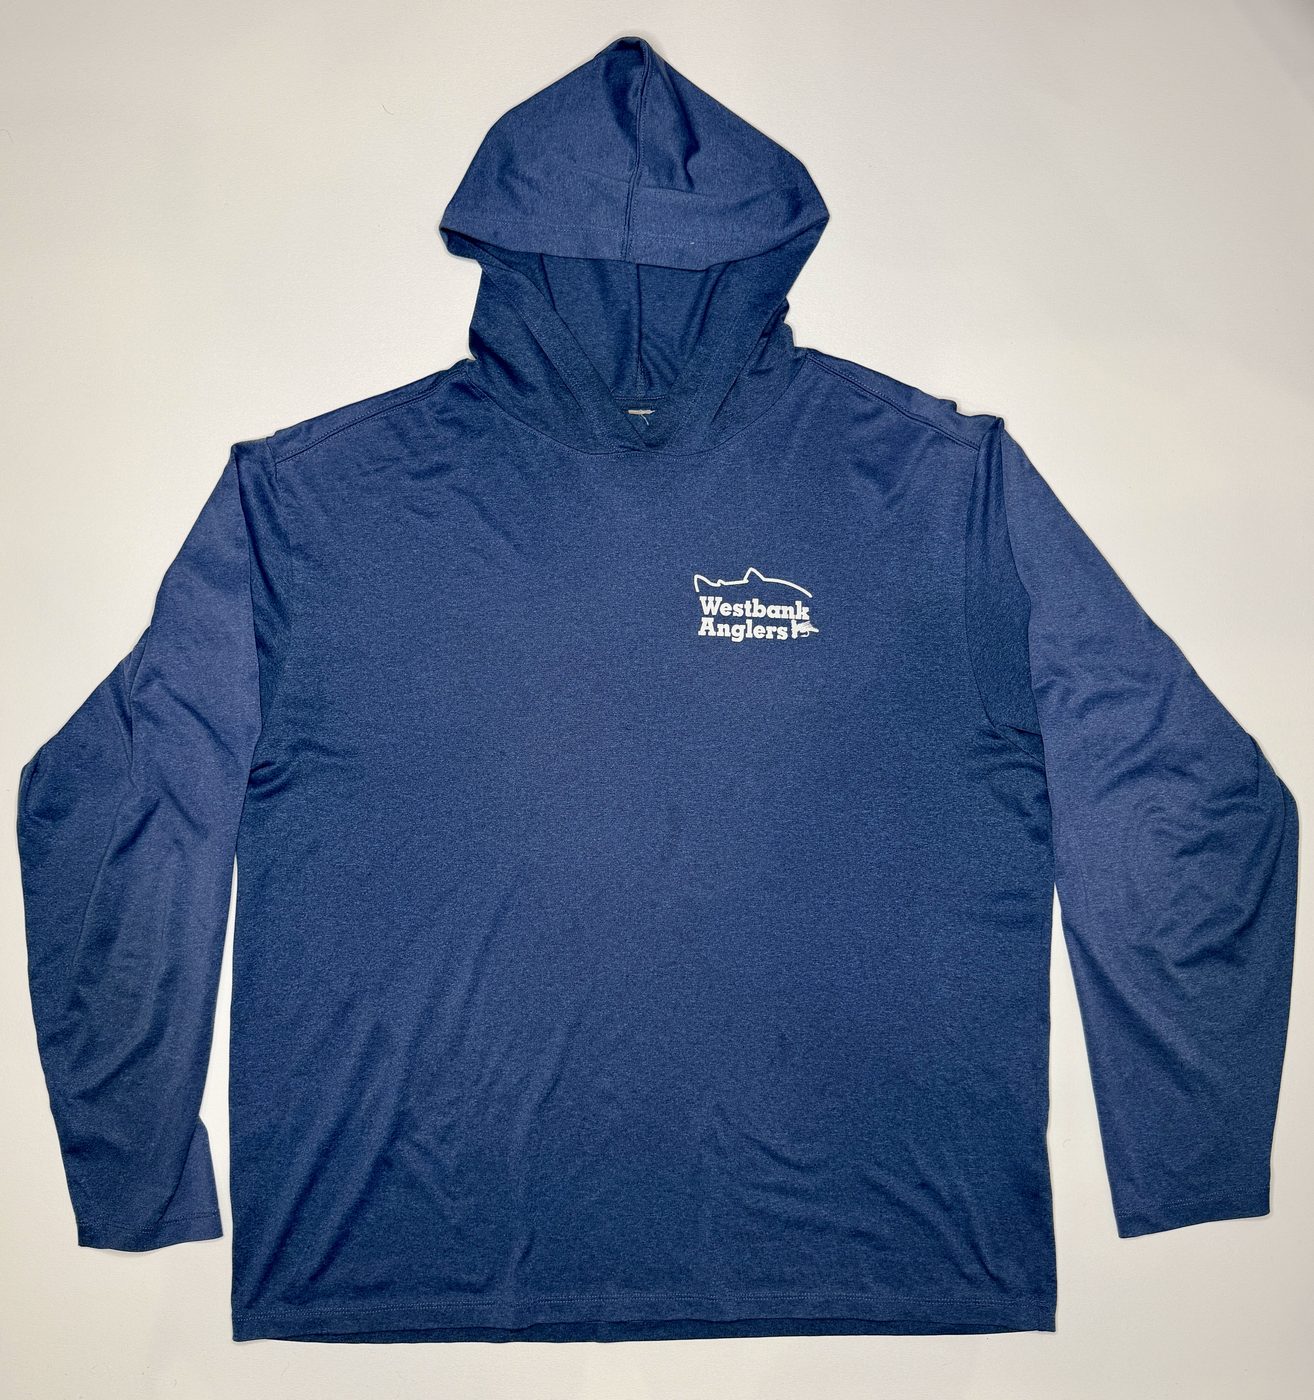
This fills much the same role as the fishing shirt but adds a hood for additional sun and insect protection.
You don’t necessarily need both styles. The important thing is having a very light, quick-drying layer that can be worn over your baselayer during warmer conditions.
Other examples: Simms Challenger Solar Hoody; Patagonia Capilene Cool Daily Hoody; REI Co-op Sahara Shade Hoodie; Columbia PFG Terminal Tackle Hoodie
Light Synthetic Shell
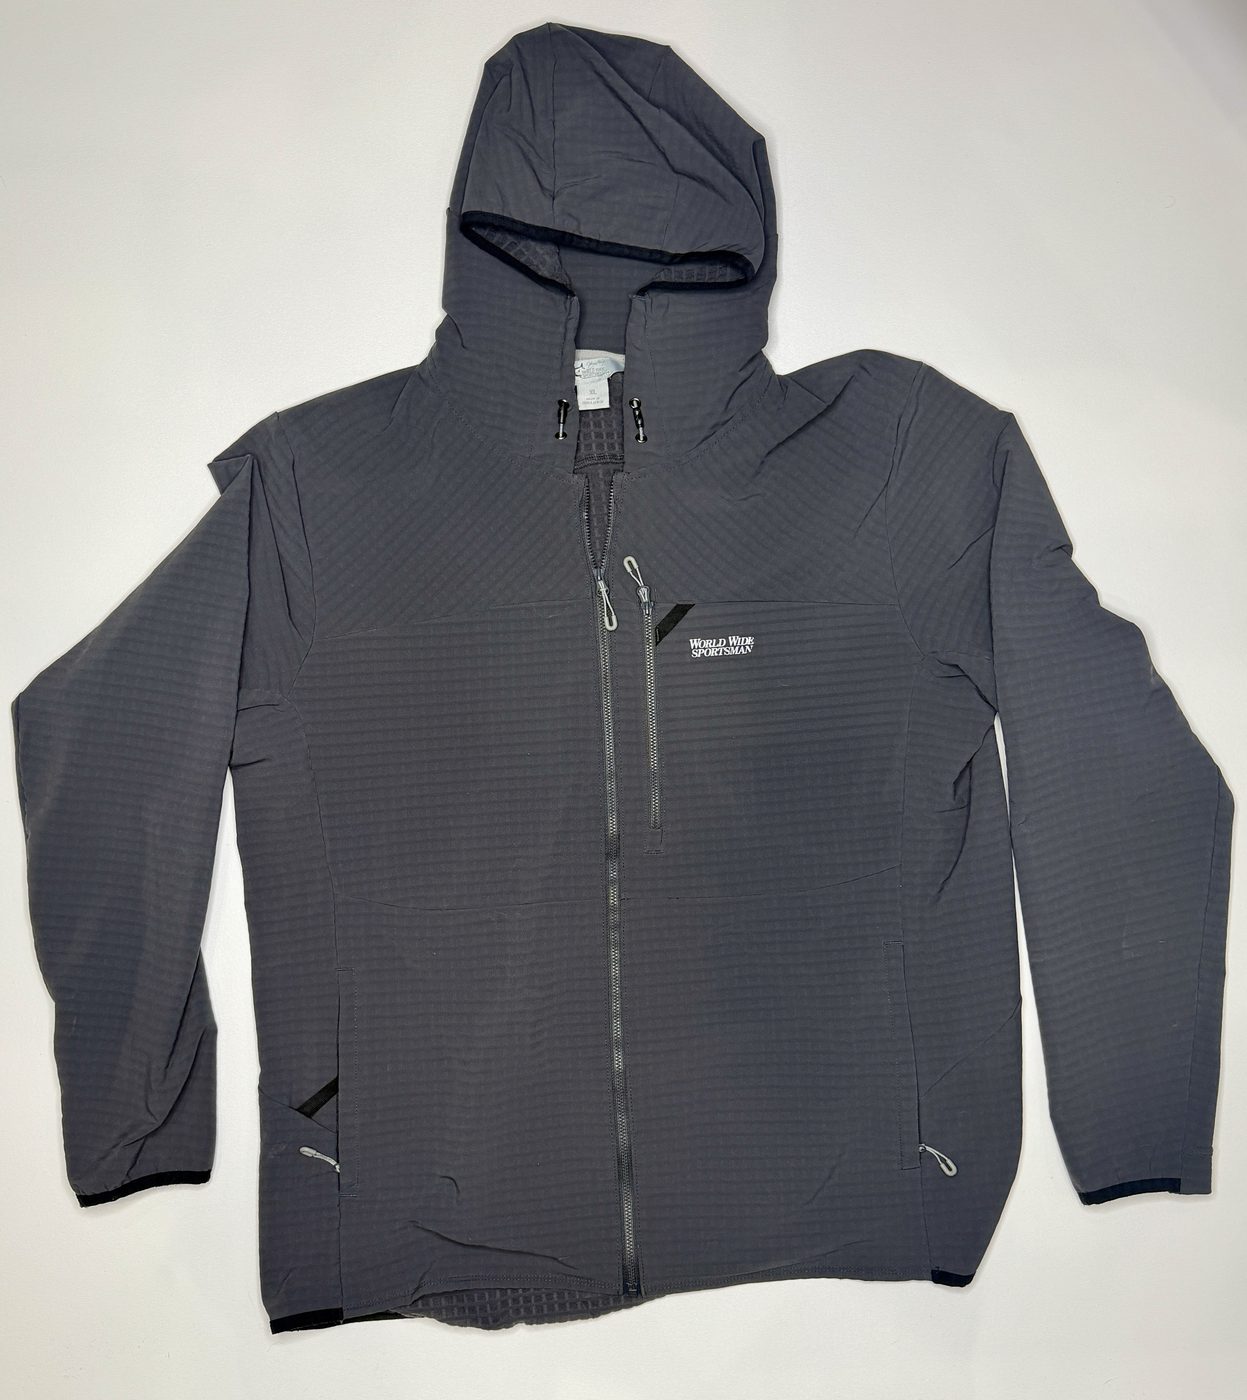
This is probably the layer I put on and take off more than anything else I bring.
It’s a light, breathable synthetic jacket that cuts wind and adds a modest amount of warmth without being a true insulated jacket or waterproof rain shell. It layers comfortably over lighter clothing while still fitting underneath heavier insulation or rain gear. I like something with a zipper so it’s easy to get on and off quickly. It’s one of the most versatile pieces of clothing I take on the river.
Shown: World Wide Sportsman Storm Fleece Jacket
Other examples: Patagonia R1 TechFace Jacket; KUIU Peloton 240 Full Zip; REI Co-op Flash Hyperstretch Fleece Jacket
300-350 Weight Insulating Top
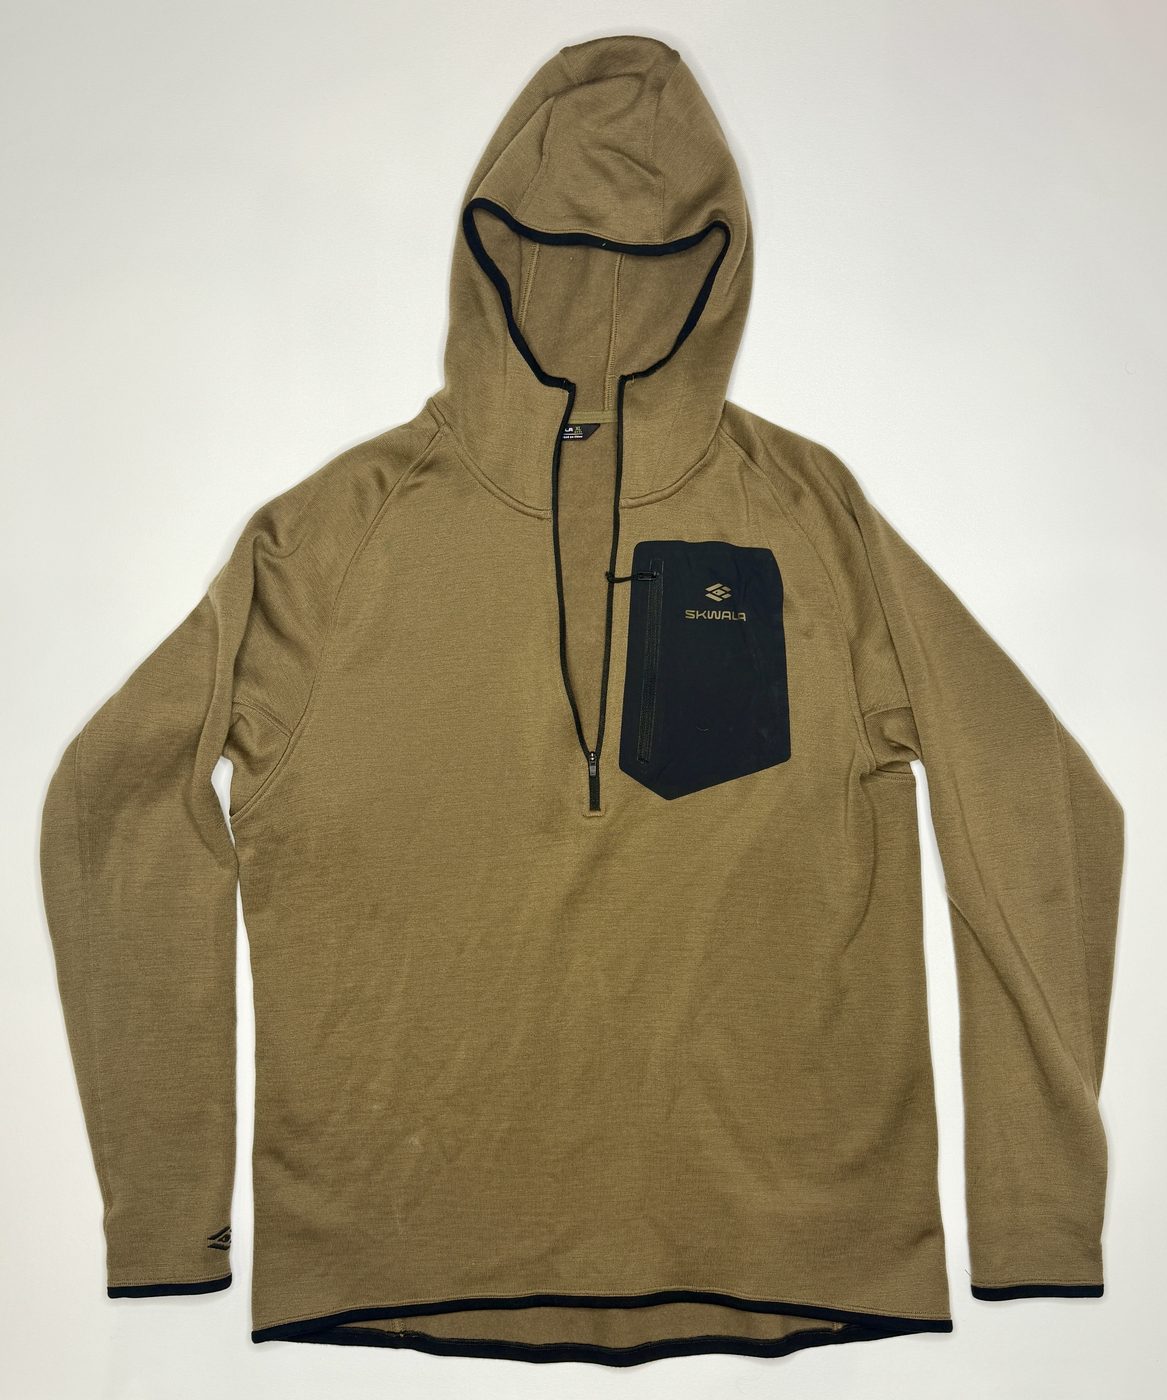
When temperatures drop, I add a substantially heavier insulating layer. Mine is approximately 350-weight merino wool.
The important distinction is that this is considerably more substantial than the light baselayer. Combined with the lighter merino layer underneath, it provides a simple and versatile insulation system without restricting movement.
Merino isn’t mandatory. A synthetic fleece or other breathable insulating layer can fill the same role.
Shown: Skwala Thermo 350 Hoody
Other examples: First Lite Furnace 350 Hoody; Sitka Core Merino 330 Hoodie; Smartwool Classic Thermal Merino Base Layer Hoodie; Patagonia Capilene Thermal Weight Crewneck
Synthetic Insulated Jacket
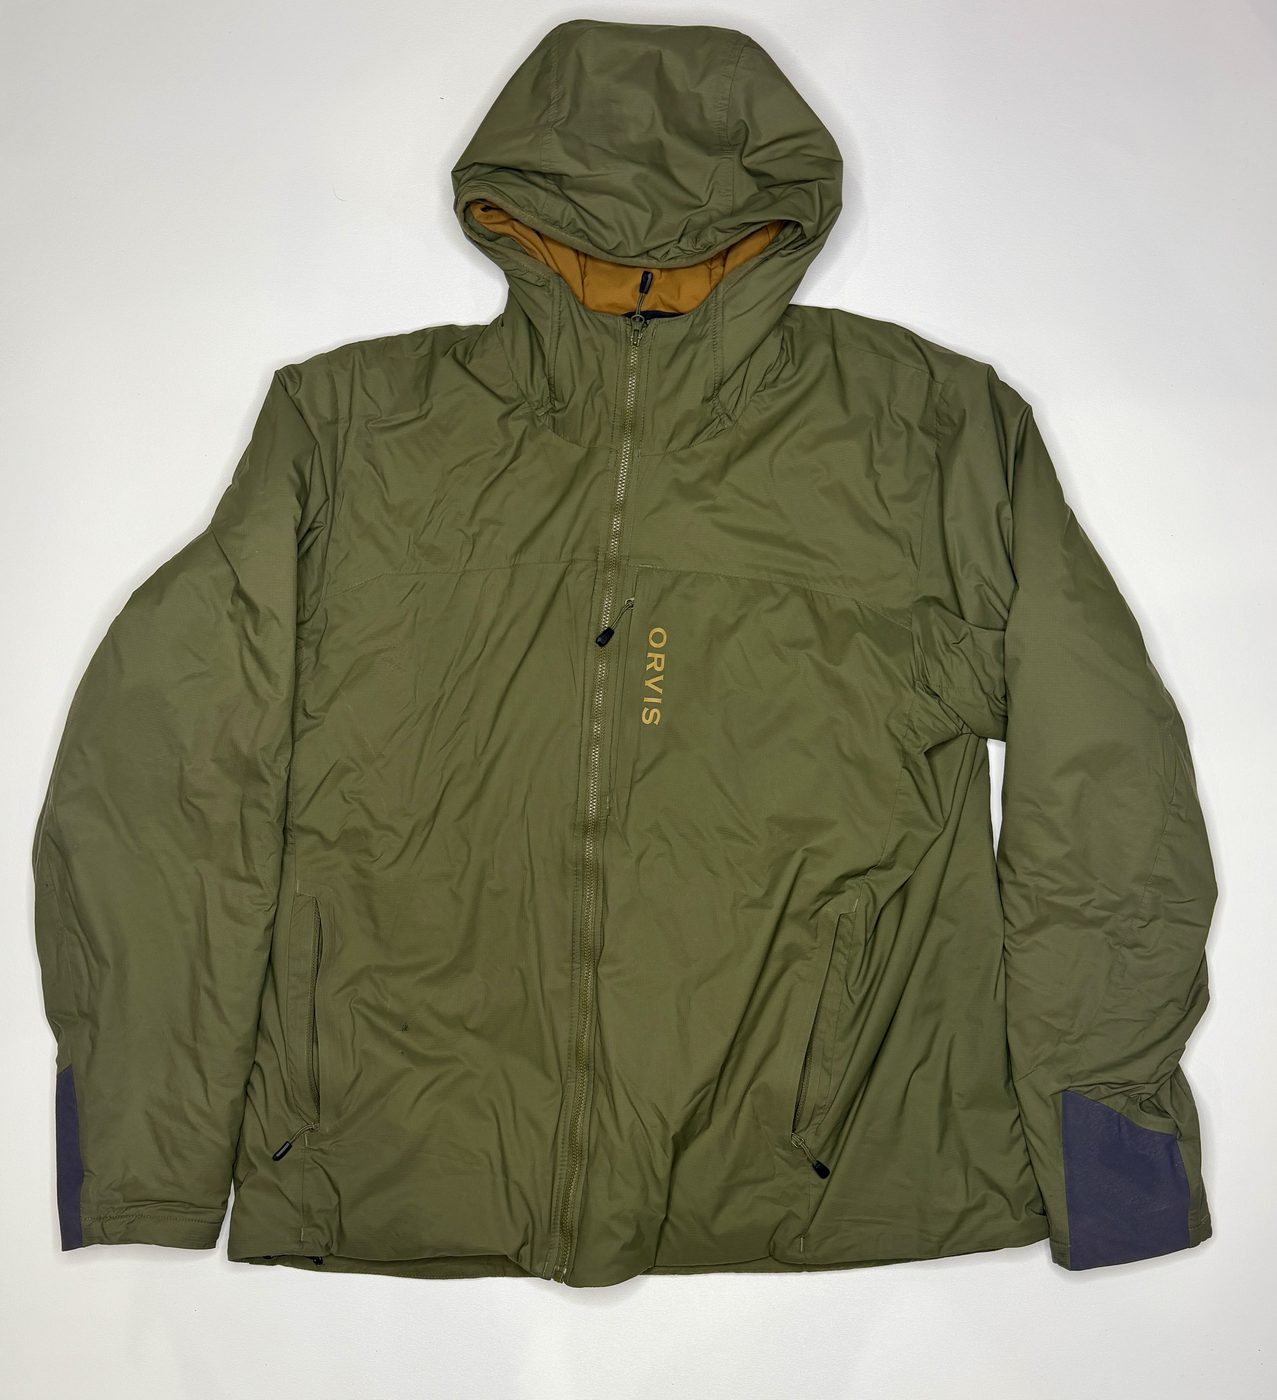
I always keep a warm insulated jacket readily available, either in my day-use dry bag or tucked under a strap.
For this role, I strongly prefer synthetic insulation. River trips are wet, and synthetic insulation is more forgiving of moisture than down. Something in the neighborhood of 60 grams of quality synthetic insulation provides useful warmth without excessive bulk.
A down puffy can still be an excellent piece of camp clothing, particularly if you already own one. I just don’t consider it the best choice for the insulated layer I’m relying on throughout a wet day on the river.
Shown: Orvis PRO Insulated Hoodie
Other examples: Arc'teryx Atom Hoody; Patagonia Nano Puff Hoody; L.L.Bean PrimaLoft Packaway Hooded Jacket; Marmot Echo Featherless Insulated Hoody
Lower Body Layers
Lightweight Baselayer Bottom
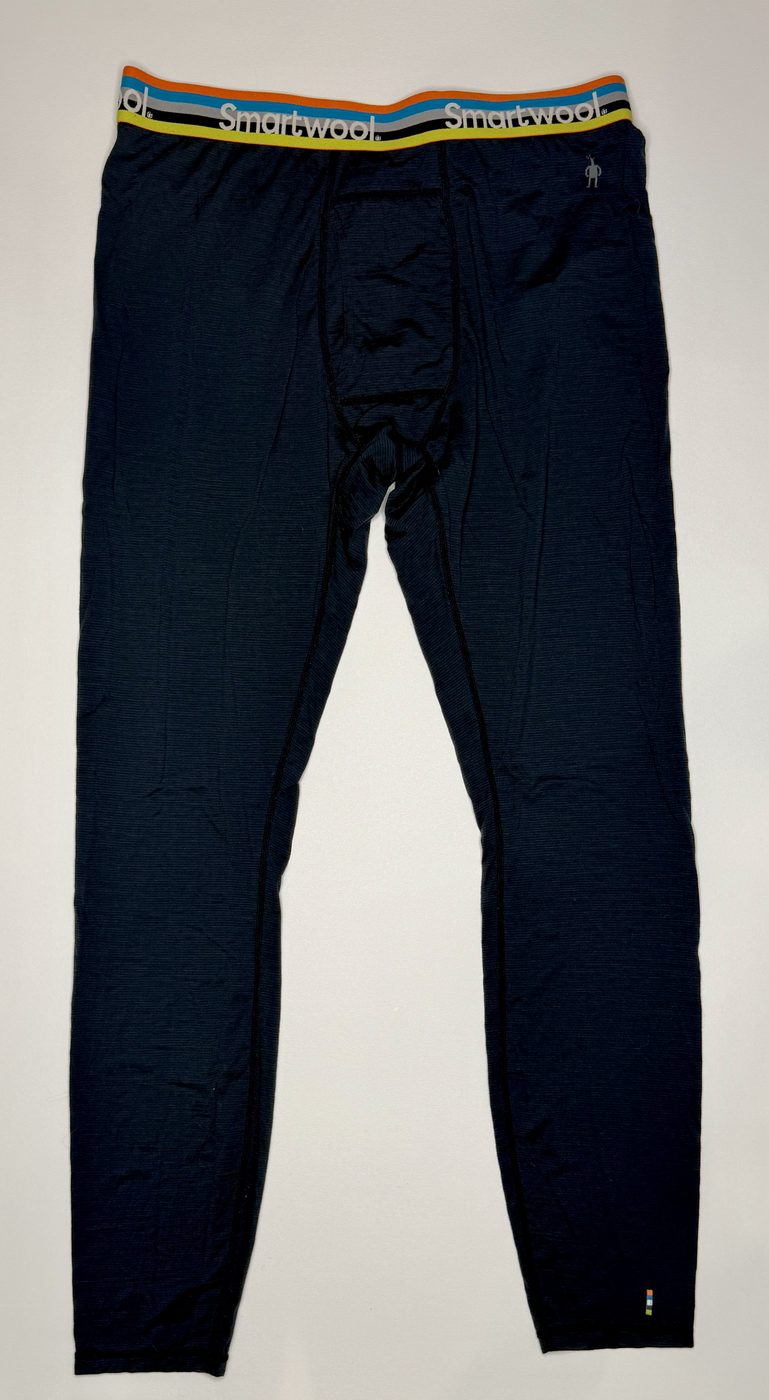
A light merino or synthetic baselayer bottom is useful both as an additional layer under waders and as dry clothing for camp or sleeping.
Look for something comfortable, quick-drying, and thin enough to layer without binding.
Shown: Smartwool Classic All-Season Merino Base Layer Bottom
Other examples: First Lite Wick Bottom; KUIU ULTRA Merino 145 Zip-Off Bottom; Patagonia Capilene Lightweight Bottoms; REI Co-op Merino 185 Base Layer Bottom
300-350 Weight Under-Wader Pant
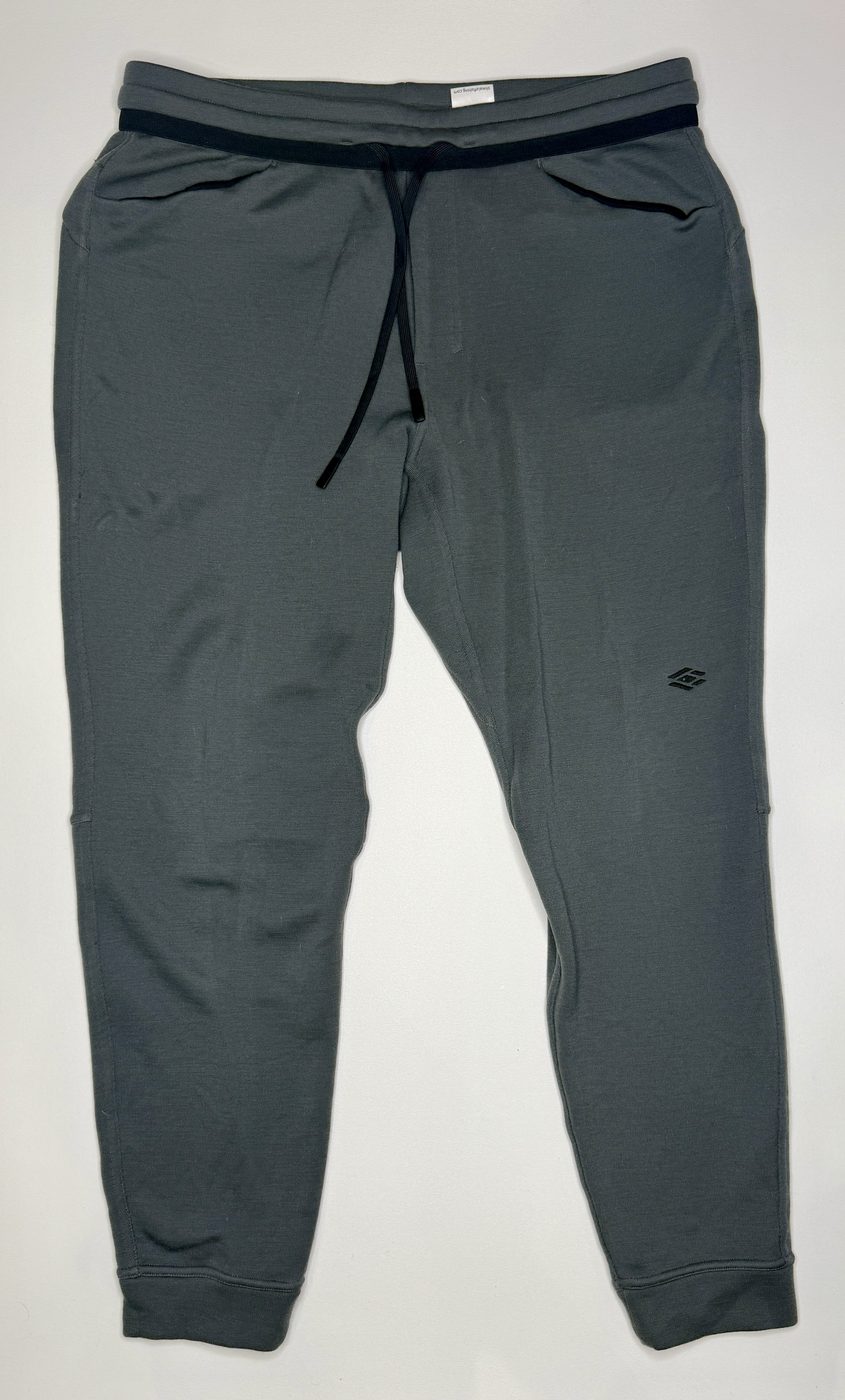
This is my standard everyday insulating layer underneath my waders.
I use a roughly 350-weight merino pant, typically without a baselayer underneath it. For most August conditions, this provides a useful combination of warmth, moisture management, and comfort without excessive bulk.
A synthetic fleece or insulated pant can fill the same role.
Shown: Skwala Thermo 350 Pant
Other examples: First Lite Furnace Long John; Orvis PRO LT Underwader Pants; Smartwool Classic Thermal Merino Base Layer Bottom; Skwala Fusion 90 Pant
Heavy Fleece Pant: Cold and Late-Season Trips
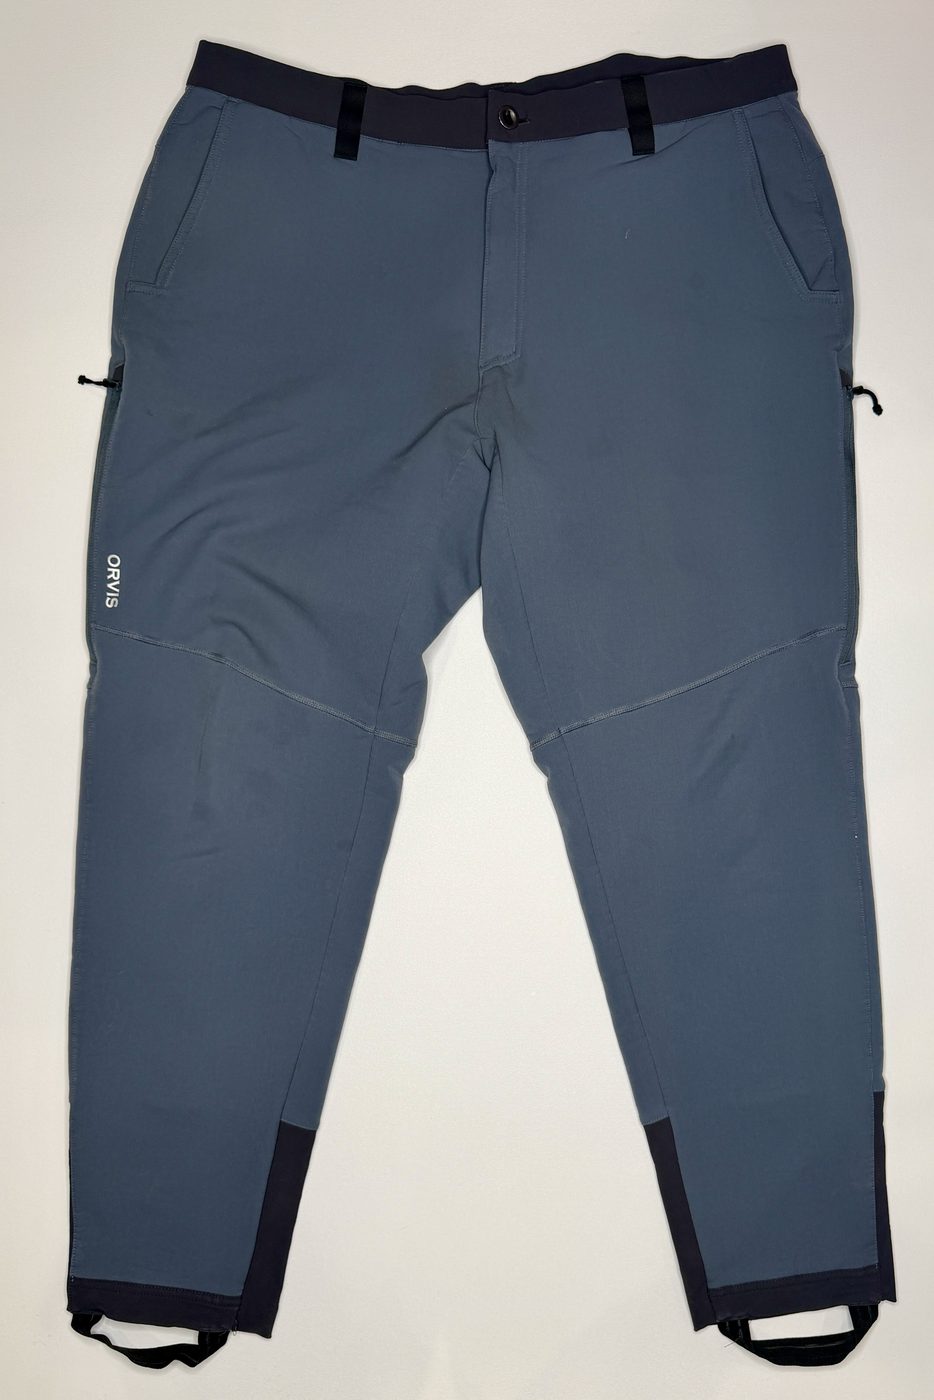
For September trips, or whenever sustained temperatures in the mid-30s and below are likely, I add a substantially heavier fleece pant.
It should be warm but not so bulky that it makes your waders tight. Compressing insulation and restricting circulation defeats much of the reason for adding another layer in the first place.
Shown: Orvis PRO HD Underwader Pant
Other examples: Simms Fjord Pant; Patagonia R2 TechFace Pants; Grundéns Grundies Thermal Pant
Everyday Camp Pants
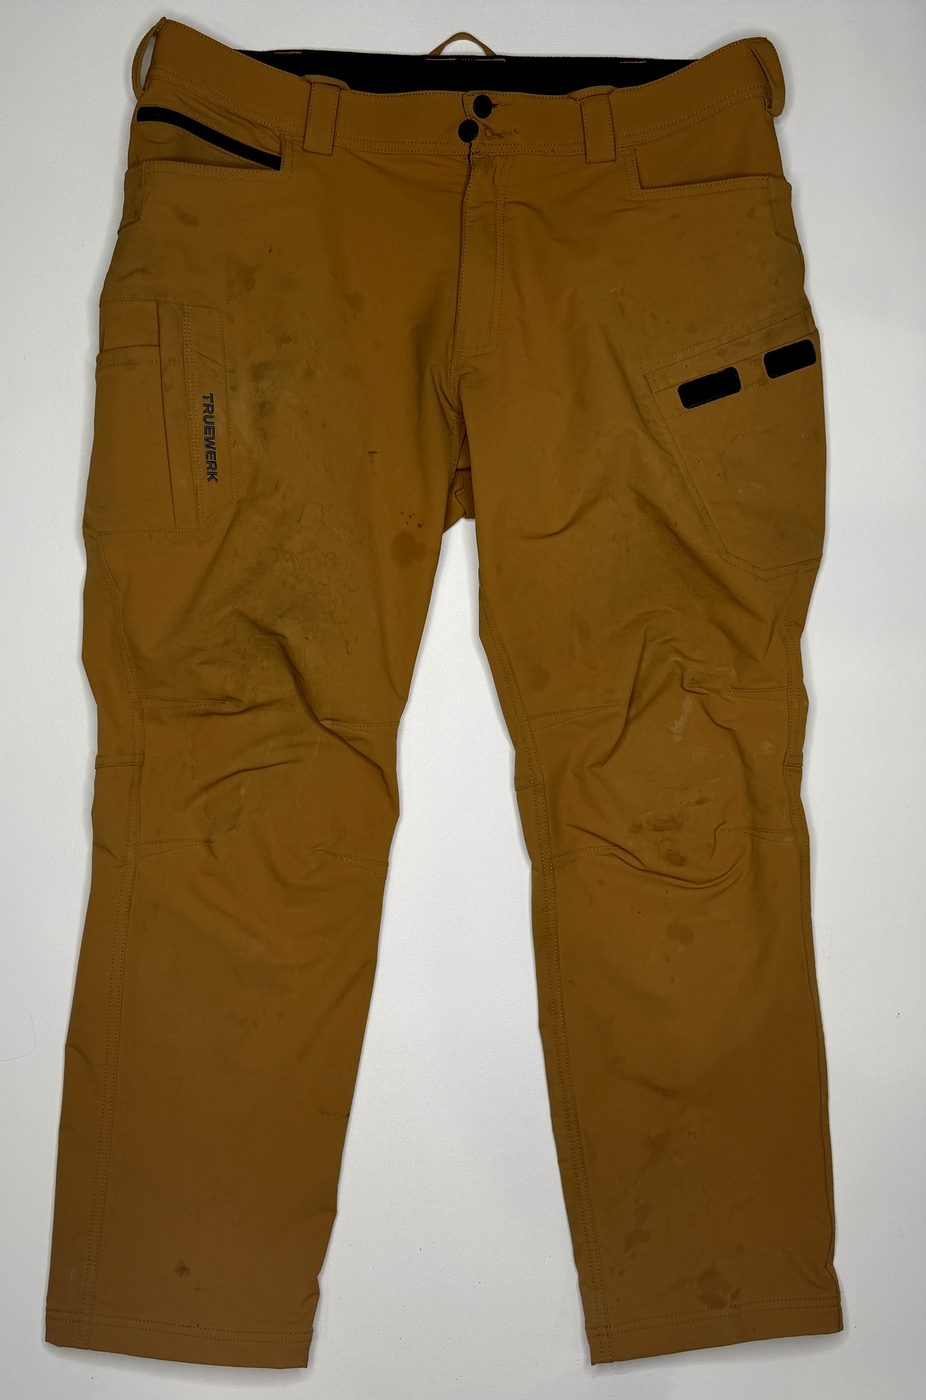
Bring a pair of lightweight synthetic pants for wearing around camp when you’re out of your waders.
These don’t need to be heavily insulated. Their main job is to give you a comfortable, quick-drying pair of pants for evenings in camp, travel days, and any time you don’t need to be in waders. Lightweight hiking, fishing, or technical pants work well.
Avoid cotton jeans, Carhartts, or other heavy pants that absorb a lot of water and take forever to dry.
Shown: Truewerk T2 Pants
Other examples: Patagonia Quandary Pants; Outdoor Research Ferrosi Pants; REI Co-op Trailmade Pants; Columbia Silver Ridge Utility Pants
Underwear and Dry Sleeping Clothes
You don’t need a fresh set of clothing for every day, but underwear is one of the things worth changing more regularly. Bring three pairs of quick-drying synthetic or merino underwear rather than cotton.
I also recommend keeping a lightweight baselayer top and bottom clean and dry for sleeping. They don’t need to be heavy. The important thing is having something dry to change into at the end of a wet day. Keep that set protected with your sleeping gear rather than allowing it to gradually become part of your everyday clothing rotation.
Staying Dry
Breathable Chest Waders
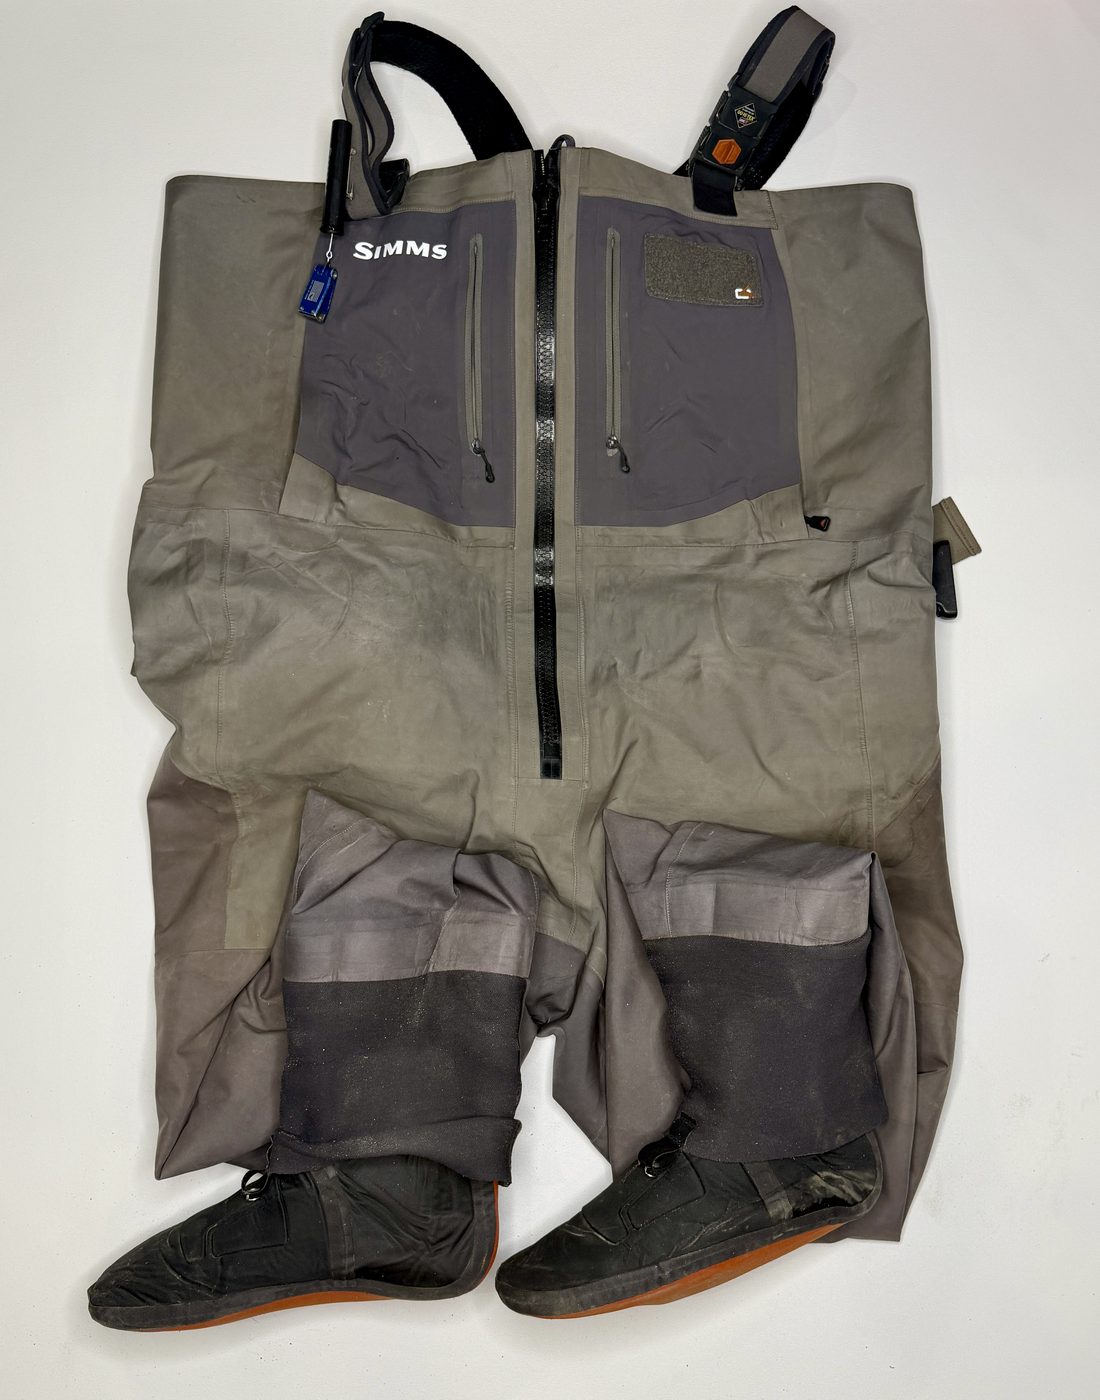
I spend much of the day in waders. In addition to allowing me to wade freely through the water, they provide excellent protection from wind, rain, wet vegetation, and the general dampness that comes with living beside a river for a week or more.
Buy good breathable waders that fit correctly over your insulating layers. If you’re in the market for a new pair, give some thought to zip-front waders. They’re easier to get in and out of and considerably more convenient when nature calls, particularly when you’re already wearing several layers and a rain jacket.
Shown: Simms G4Z Waders
Other examples: Patagonia Swiftcurrent Expedition Zip-Front Waders; Orvis PRO Zipper Waders; DRYFT Primo Zip Waders
Breathable Rain Jacket
A high-quality waterproof-breathable rain jacket is your primary defense against bad weather.
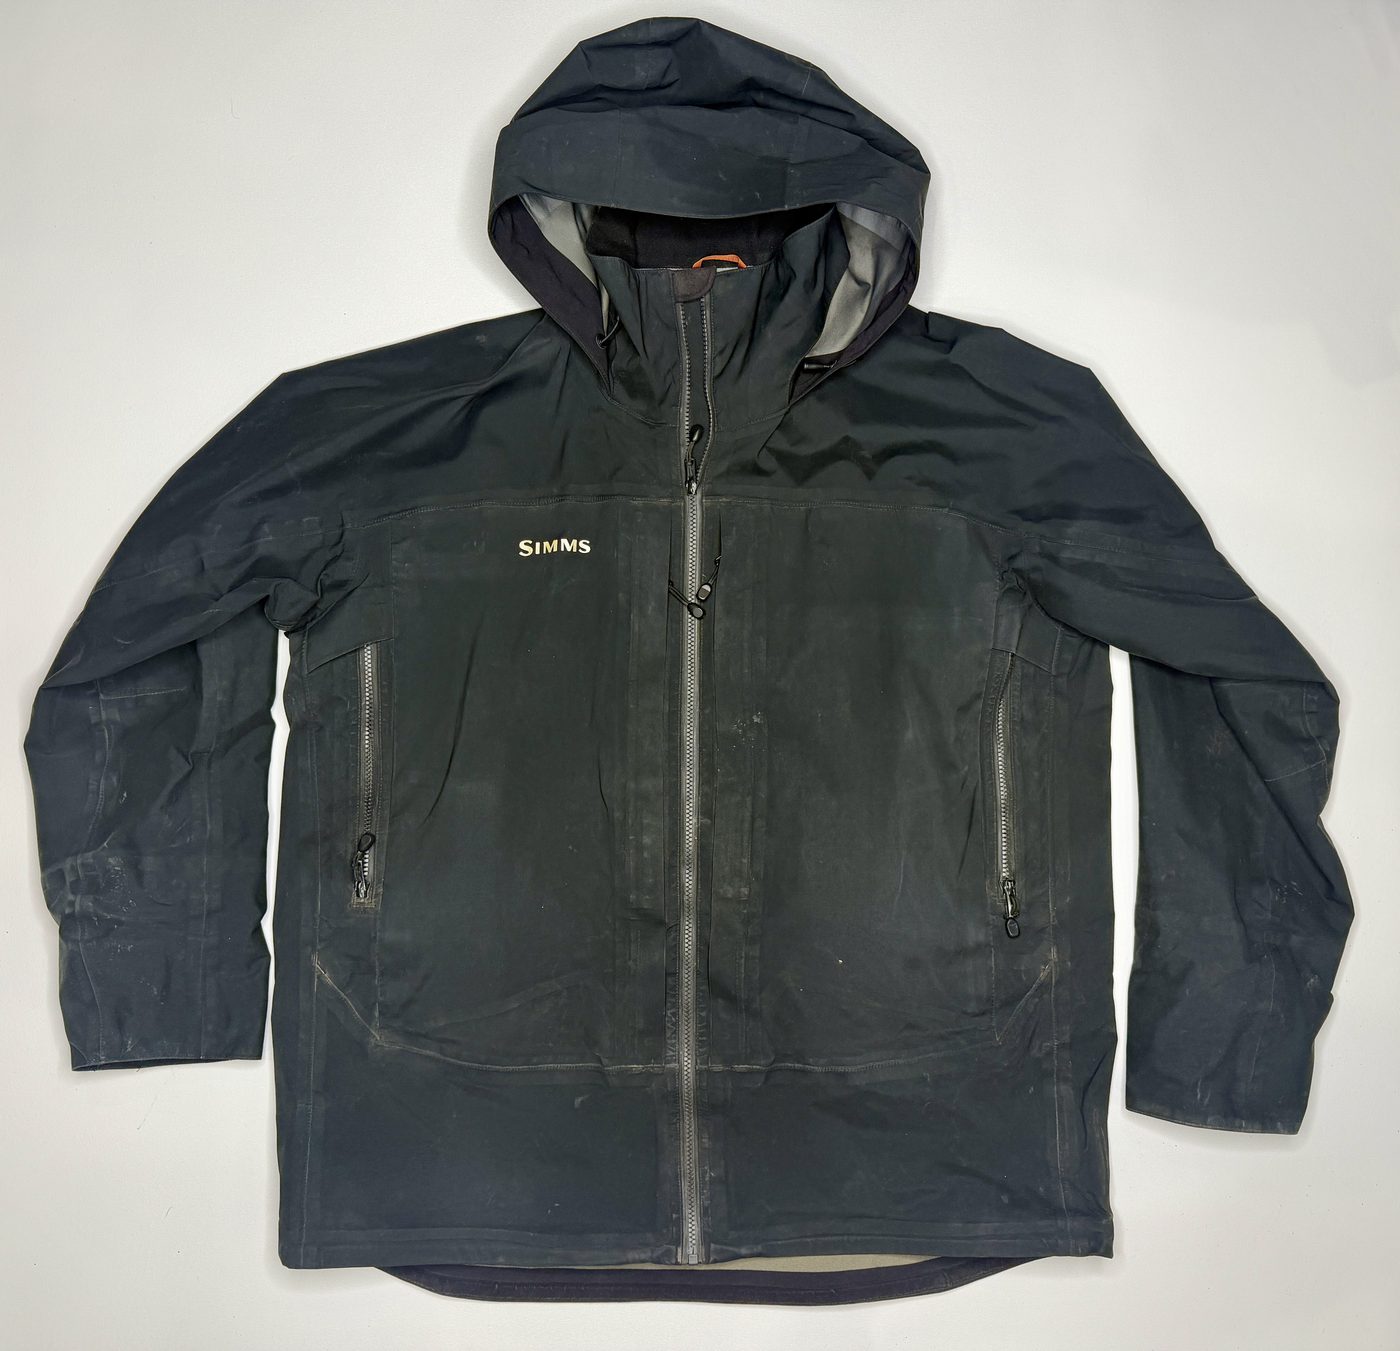
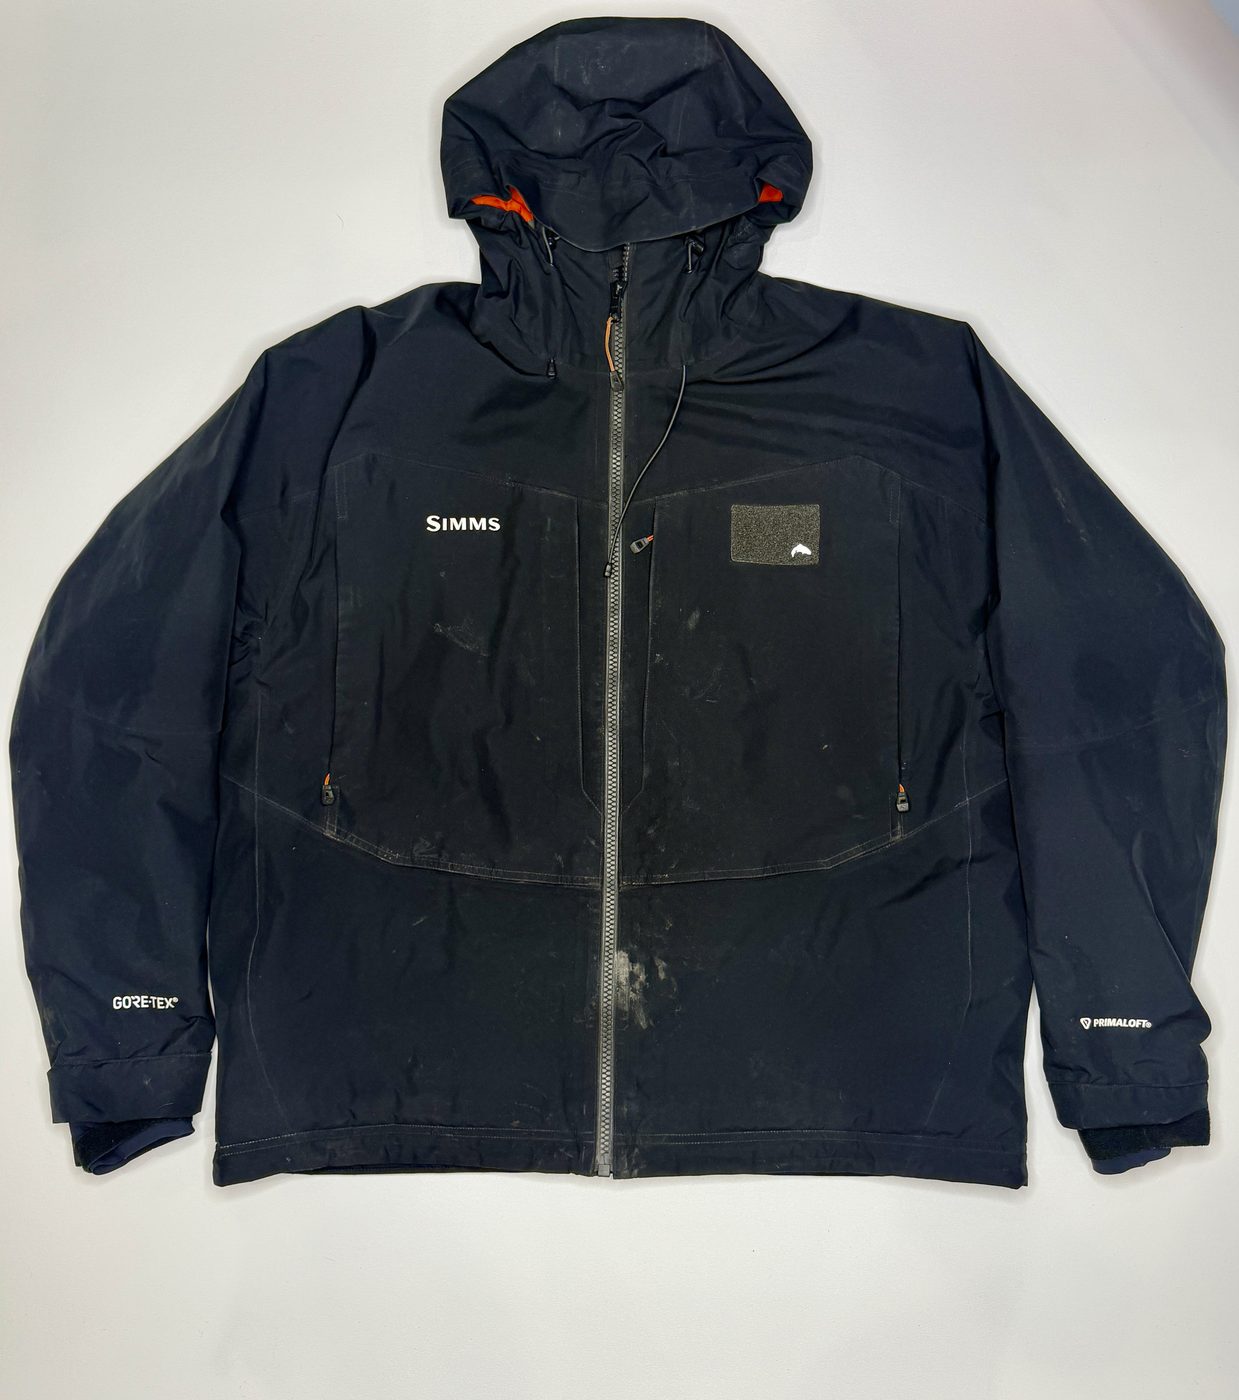
My normal wading jacket is an uninsulated breathable shell. I also have an insulated breathable wading jacket that I switch to on colder late-season trips. For most people, I’d start with a good uninsulated shell and add insulation underneath it as conditions require.
This isn’t a place where I’d try to save a lot of weight or money. Look for a well-built waterproof-breathable shell designed for prolonged exposure to rain and wind. Fishing-specific jackets work very well, but any quality breathable rain jacket will work.
Make sure it fits comfortably over your insulating layers.
Shown: Simms Slick Wading Jacket, discontinued
Cold-weather example: Simms Bulkley Insulated Wading Jacket
Other examples: Patagonia Swiftcurrent Wading Jacket; Orvis PRO Fishing Jacket; Outdoor Research Foray 3L Jacket; REI Co-op XeroCloud 3L Rain Jacket
Rubberized Rain Jacket
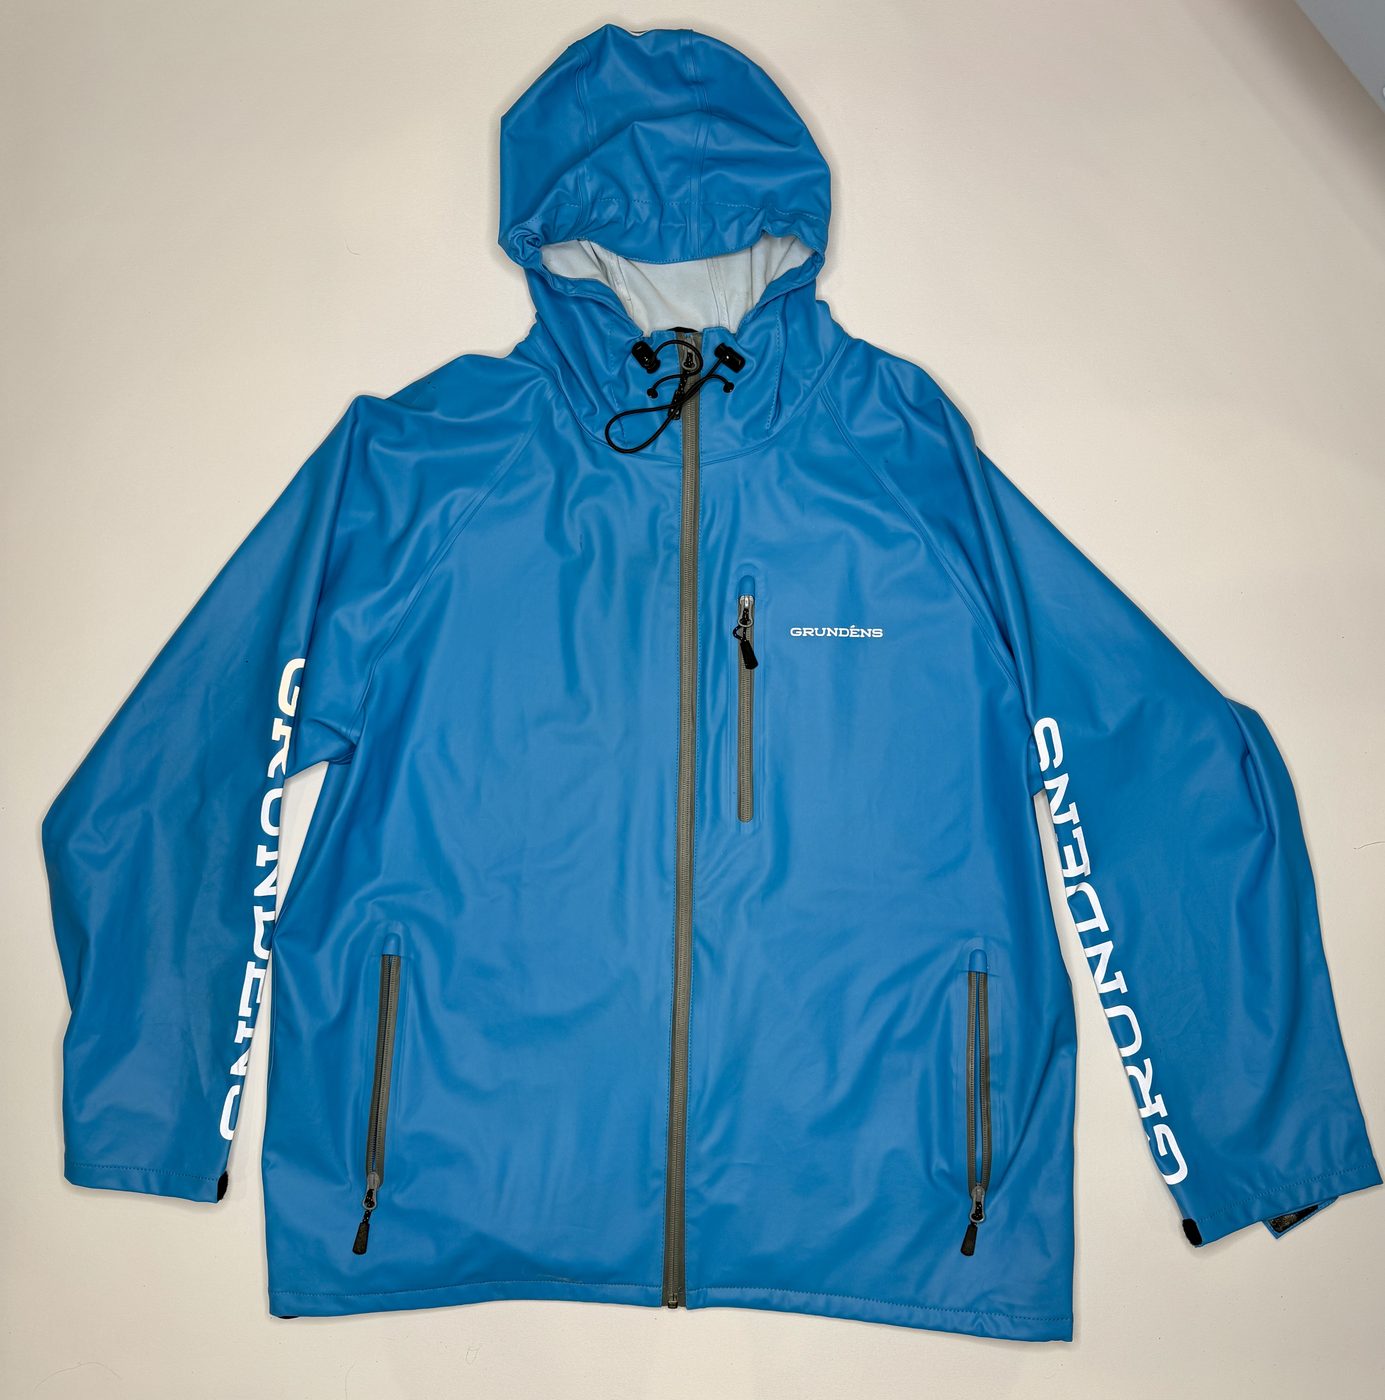
I also carry a lightweight, completely waterproof, non-breathable rain jacket.
That may sound redundant when you’re already carrying an expensive breathable shell. It isn’t.
Every waterproof-breathable jacket has limitations, particularly during prolonged rain. A simple rubberized shell provides a second option when staying dry matters more than breathability. It doesn’t need to be sophisticated or expensive.
Shown: Grundéns Neptune Jacket
Other examples: Helly Hansen Gale Rain Jacket; Helly Hansen Mandal Jacket; Guy Cotten VAL Jacket
Breathable Rain Pants
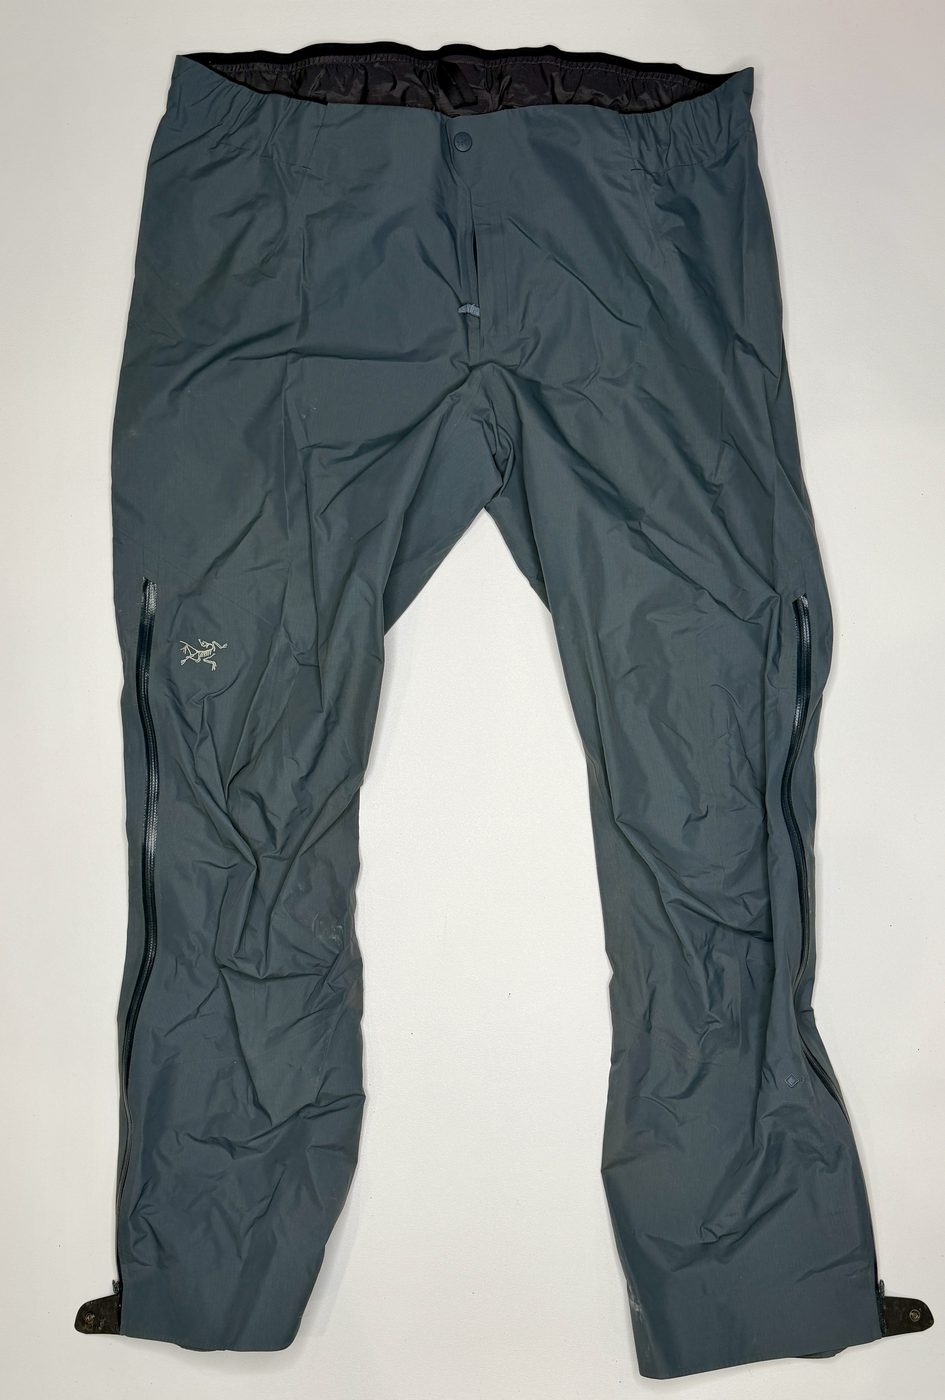
Because I spend most of the day in chest waders, rain pants aren’t always part of my personal kit. I still recommend them for guests.
They provide waterproof protection around camp after the waders come off and are useful for off-river travel through wet vegetation. They also provide another useful wind layer.
Choose a lightweight waterproof-breathable pair that packs reasonably small and can be pulled over your other clothing.
Shown: Arc'teryx Beta Pants
Other examples: Outdoor Research Foray 3L Pants; Patagonia Torrentshell 3L Rain Pants; REI Co-op Rainier Rain Pants
Feet
Heavy Wool Socks
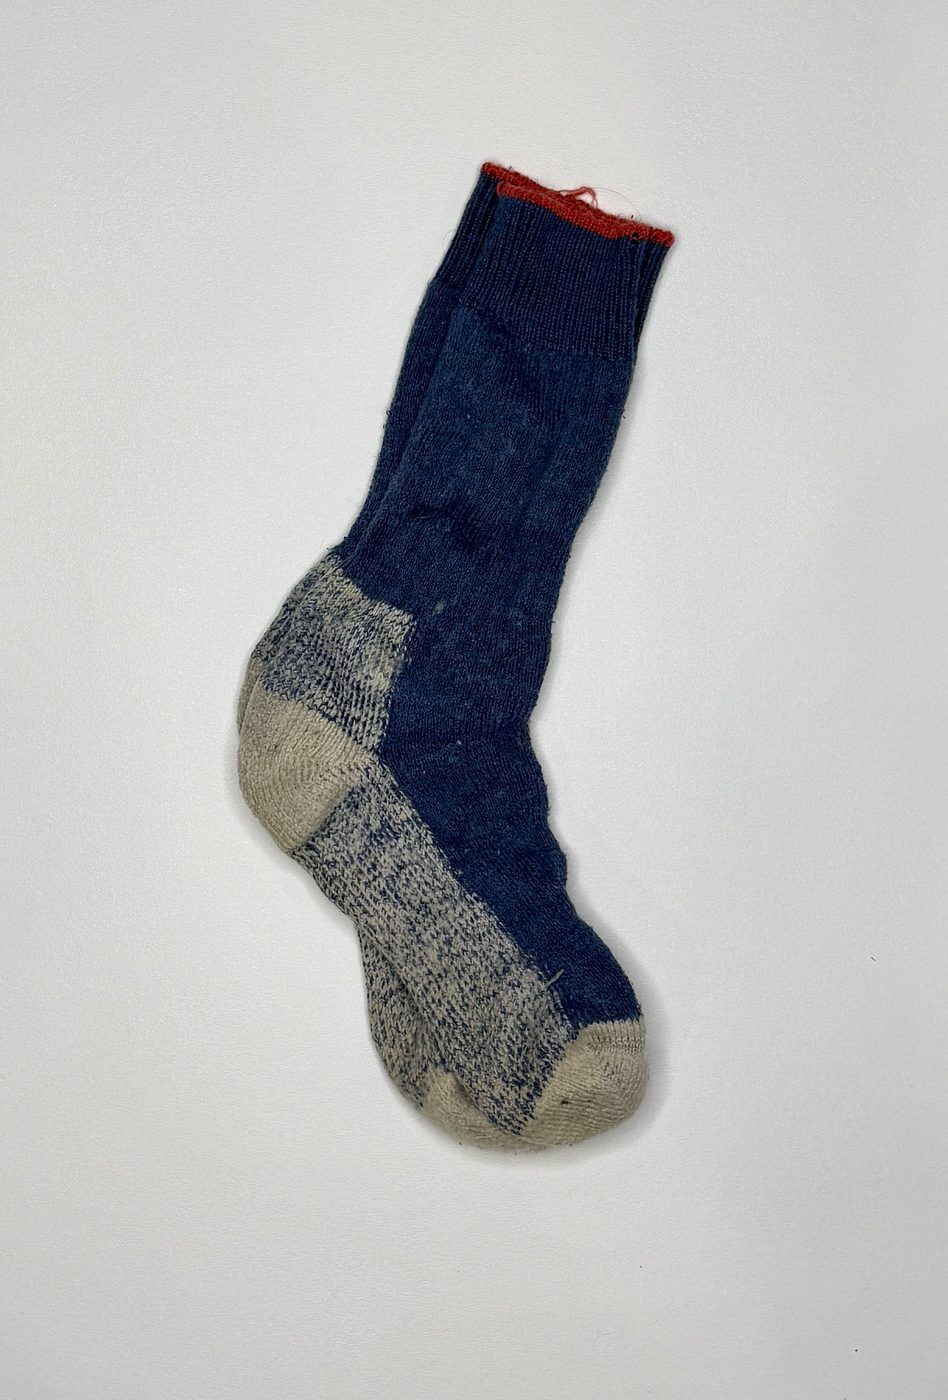
Cold feet are one of the most common comfort problems on a raft trip.
Even when you’re not standing in cold water, your feet spend hours close to the floor of a raft sitting directly on frigid water. That’s a very effective heat sink.
I use heavyweight wool socks underneath my waders and recommend bringing two pairs. Some people also prefer a thin merino liner sock underneath them.
Make sure your wading boots and wader booties have enough room for the socks you intend to wear. More sock isn’t better if everything becomes tight enough to restrict circulation.
Shown: Norsewear Hi-Trek Thermal Sock
Other examples: Darn Tough Mountaineering Socks; Smartwool Mountaineer Classic Edition Crew Socks; REI Co-op Mountain Merino Wool Expedition Crew Socks
Midweight Wool Socks
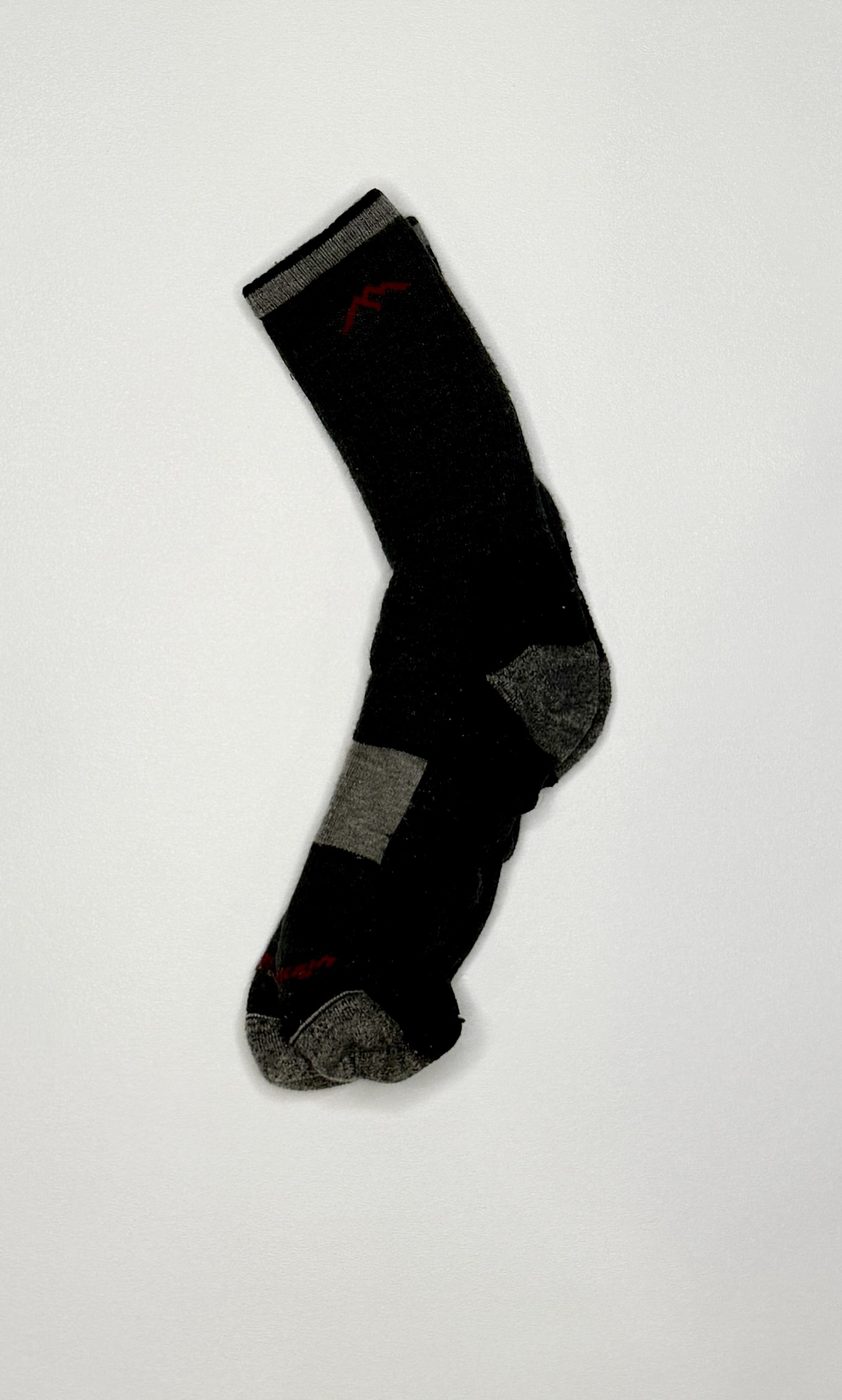
I also bring a separate pair of midweight wool socks for camp and sleeping.
The important thing is that these remain relatively clean and dry rather than becoming another pair of fishing socks.
Shown: Darn Tough Hiker Boot Full Cushion Midweight Socks
Other examples: Smartwool Hike Full Cushion Crew Socks; Bridgedale Midweight Merino Performance Boot Socks
Wading Boots, No Studs
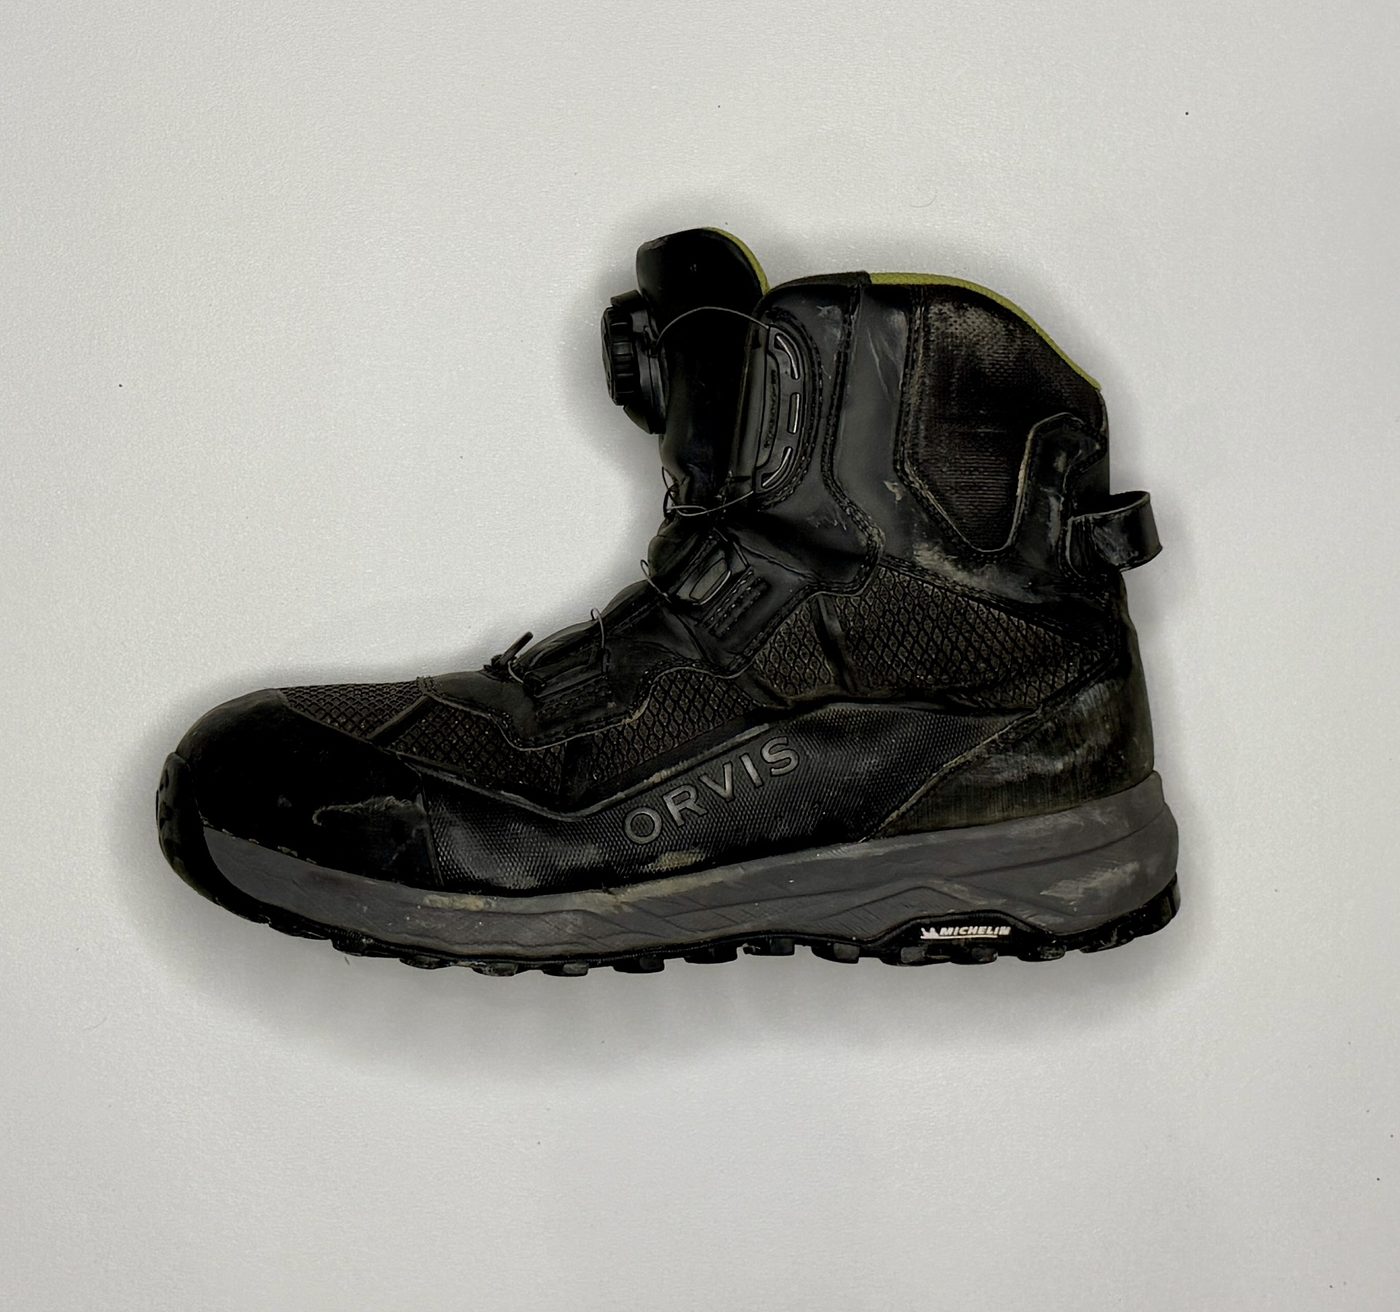
Bring sturdy, comfortable wading boots that you can wear for long days.
I prefer boots that fit and walk more like hiking boots than oversized traditional wading shoes. BOA closures are convenient, but ordinary laces are completely fine.
A dedicated wading boot is preferable to trying to use a regular hiking boot. Wading boots are designed to drain, accommodate neoprene stocking feet, and remain comfortable after hours in the water.
Felt soles are not legal for freshwater fishing in Alaska, and I do not allow studded boots because studs can damage inflatable rafts.
Shown: Orvis PRO BOA Wading Boots
Other examples: Simms Guide BOA Wading Boot; Patagonia Forra Wading Boots; Simms Tributary Wading Boot
Camp Shoes
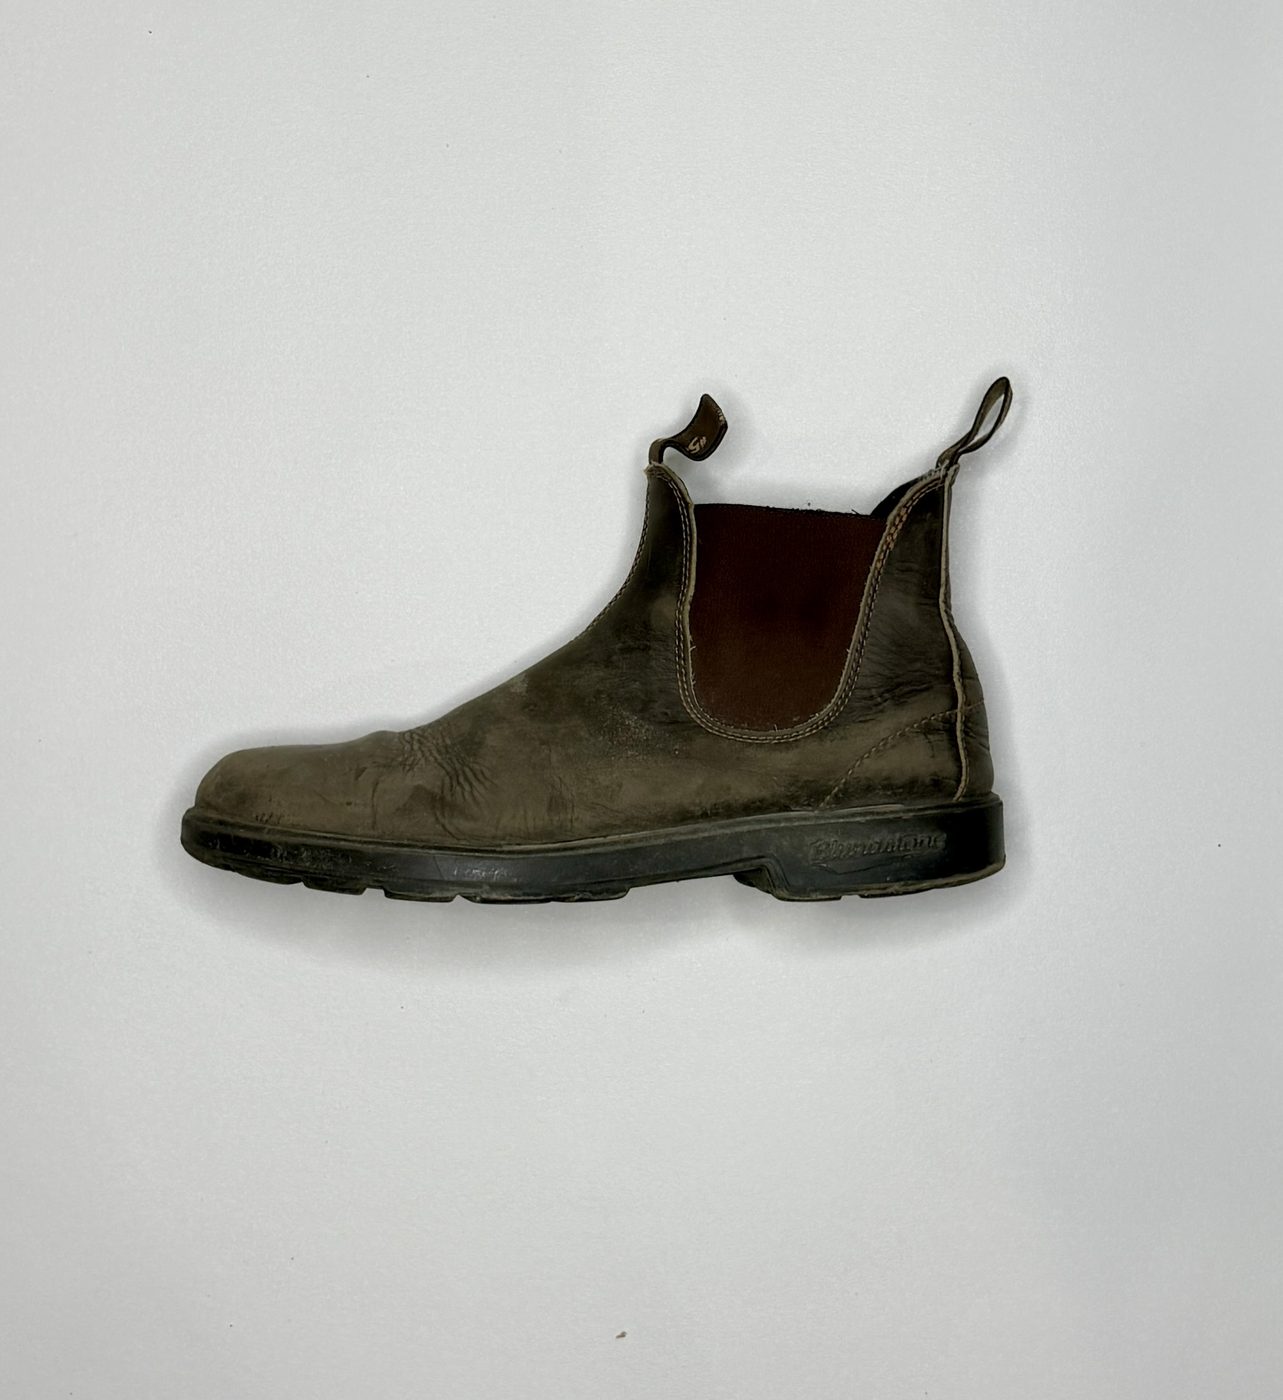
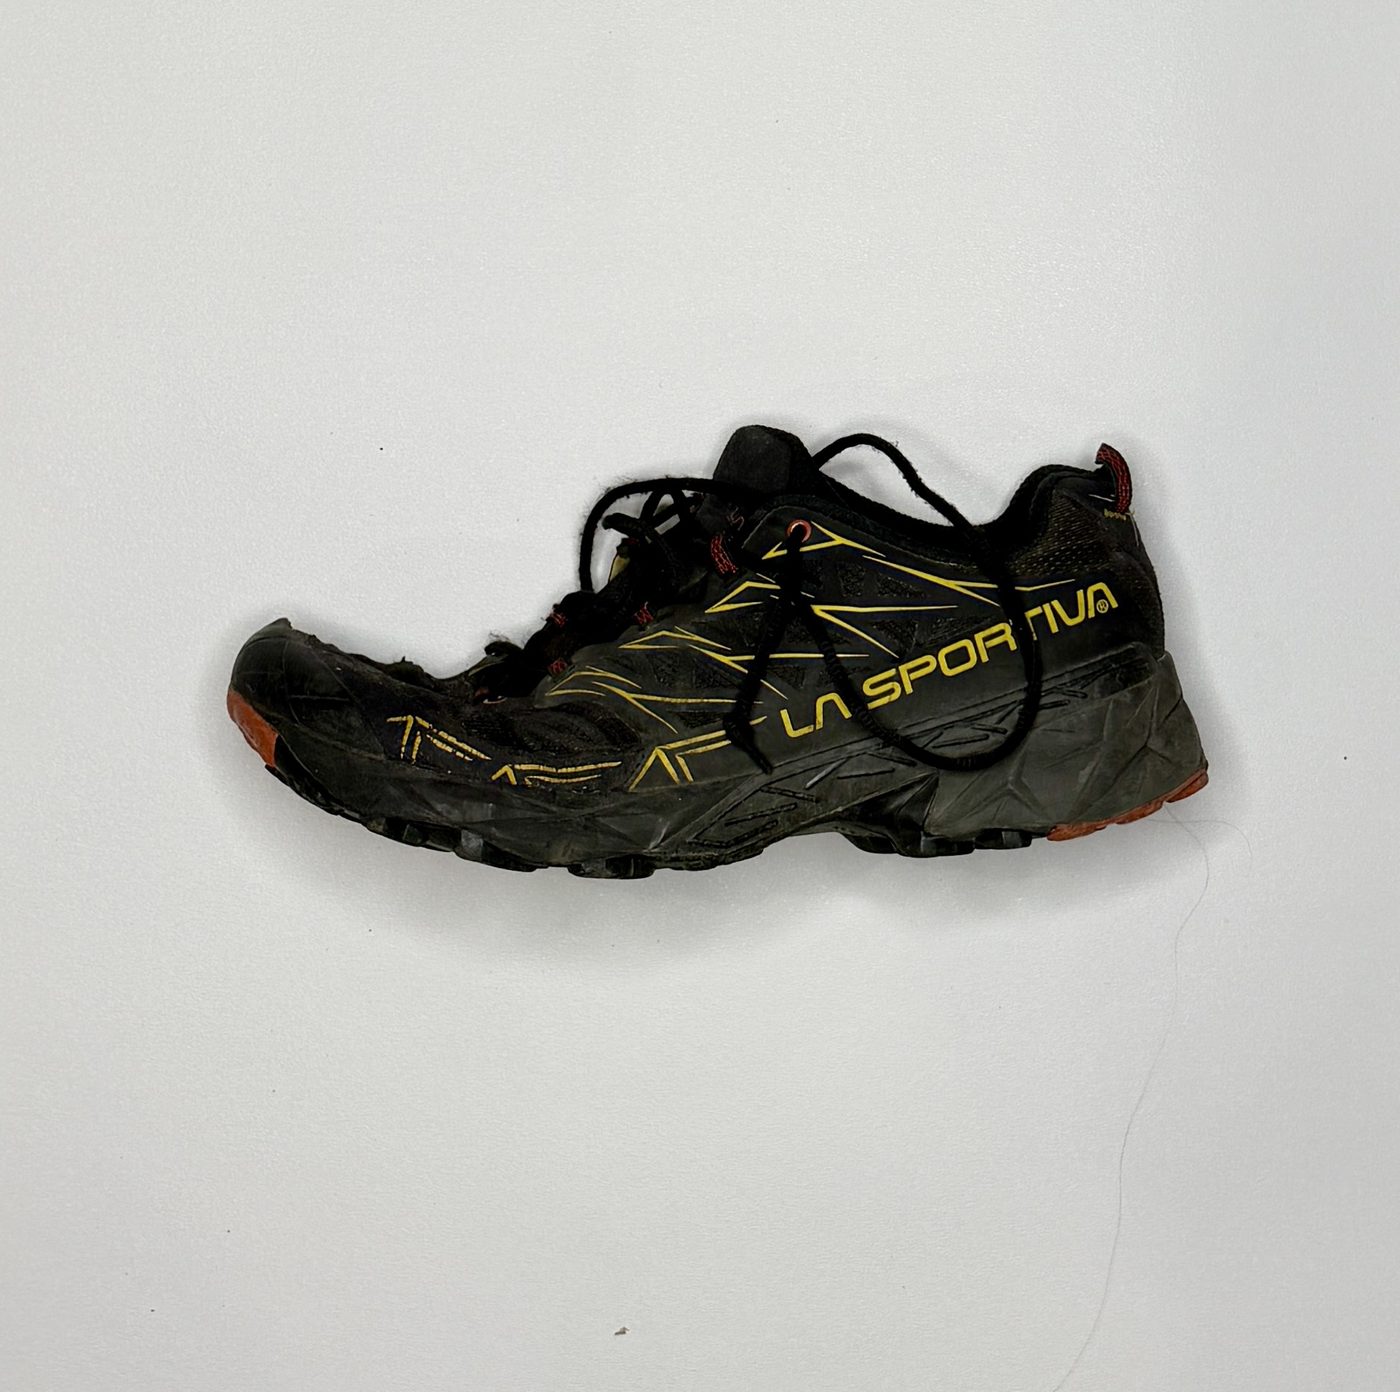
Bring something comfortable and easy to put on when the waders finally come off.
I strongly prefer lightweight pull-on boots. They’re warm, dry, require no laces, and are particularly nice when you need to climb out of the tent during the night.
A lightweight hiking or approach shoe also works. Avoid anything excessively bulky or absorbent.
Shown: Blundstone Chelsea Boot and La Sportiva TX4 EVO Approach Shoe
Other examples: XTRATUF Ankle Deck Boot; Grundéns DECK-BOSS Ankle Boot; lightweight trail or approach shoes
Hiking Footwear: Ivishak Trips
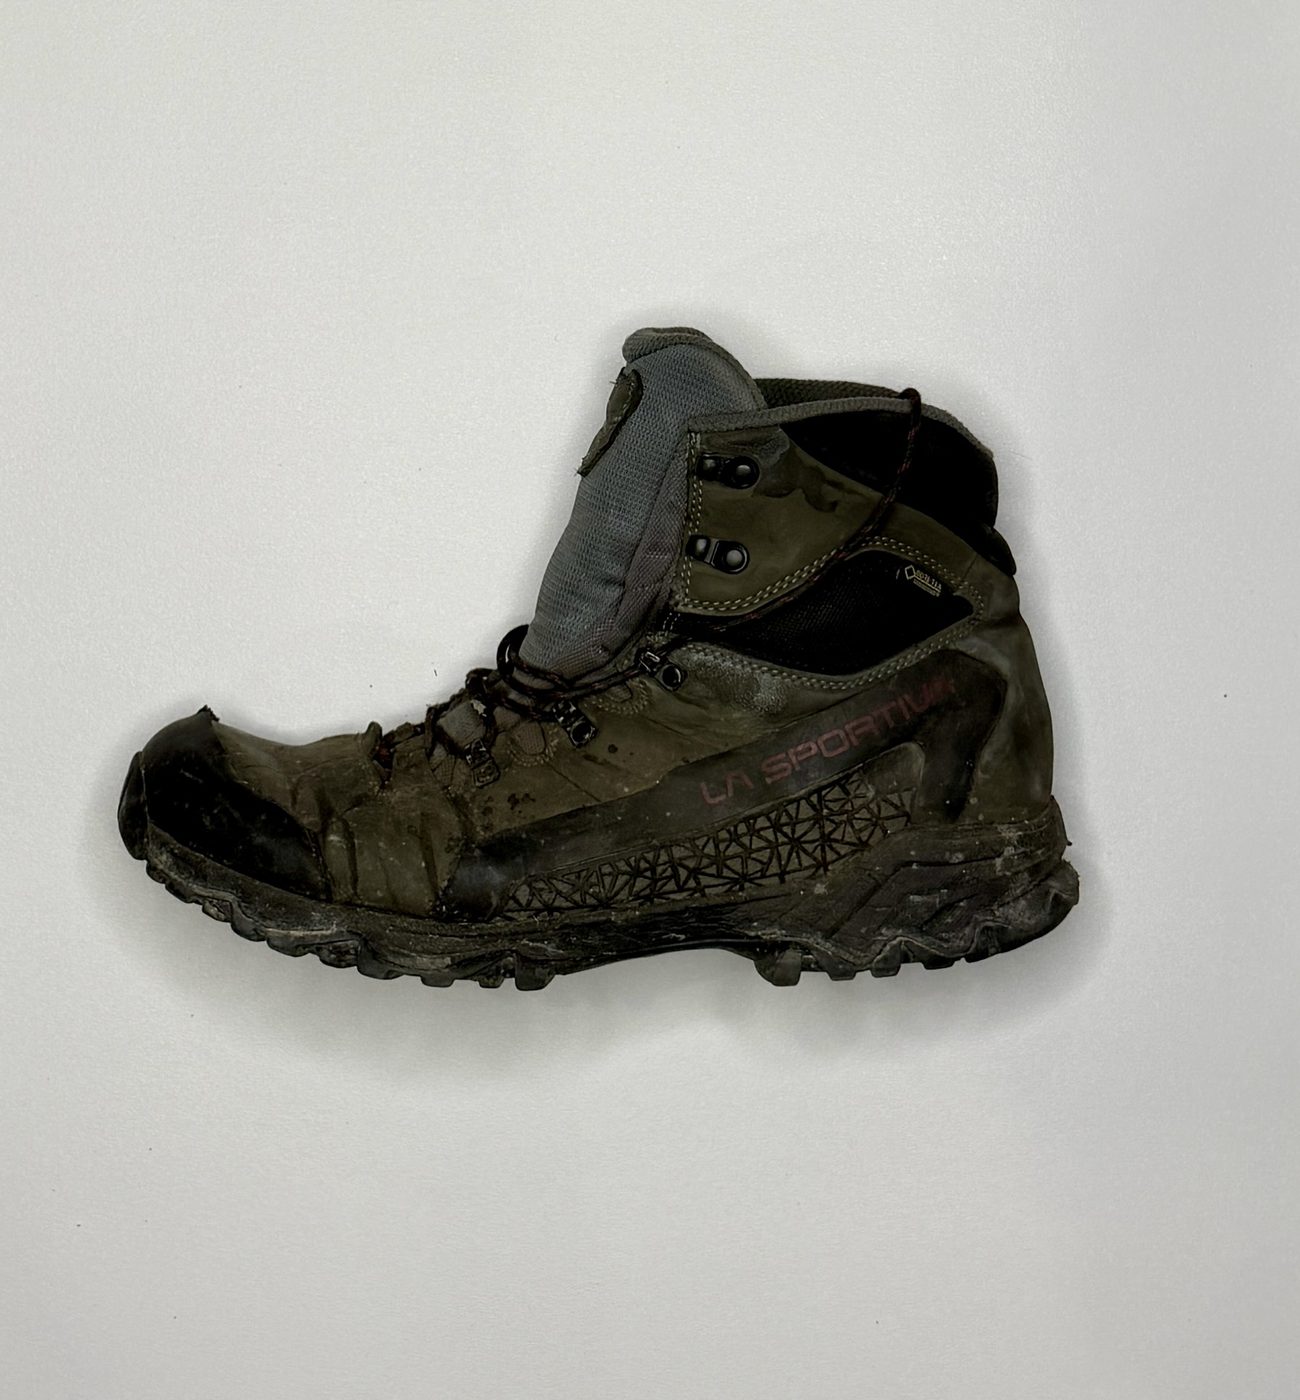
On Ivishak trips, I recommend bringing a lightweight hiking shoe or boot in addition to your wading boots and camp footwear.
Depending on the group and itinerary, there are opportunities to explore away from camp and the river corridor. Wading boots aren’t particularly pleasant hiking shoes when covering higher mileage. And even on dry days, shoes routinely get wet due to wet ground and vegetation. If hiking is on the agenda, I prefer to have a dedicated shoe for it so I’m not getting my camp shoes soaked.
Trail runners, approach shoes, or lightweight hiking boots can all work. Prioritize comfort, reasonable traction, and relatively low weight and bulk. There’s no reason to bring a heavy traditional backpacking boot.
Shown: La Sportiva TX4 EVO
Other examples: Salomon X Ultra 5; Merrell Moab 3; Oboz Sawtooth X Low
Hands, Head and Neck
Baseball Cap or Brimmed Hat
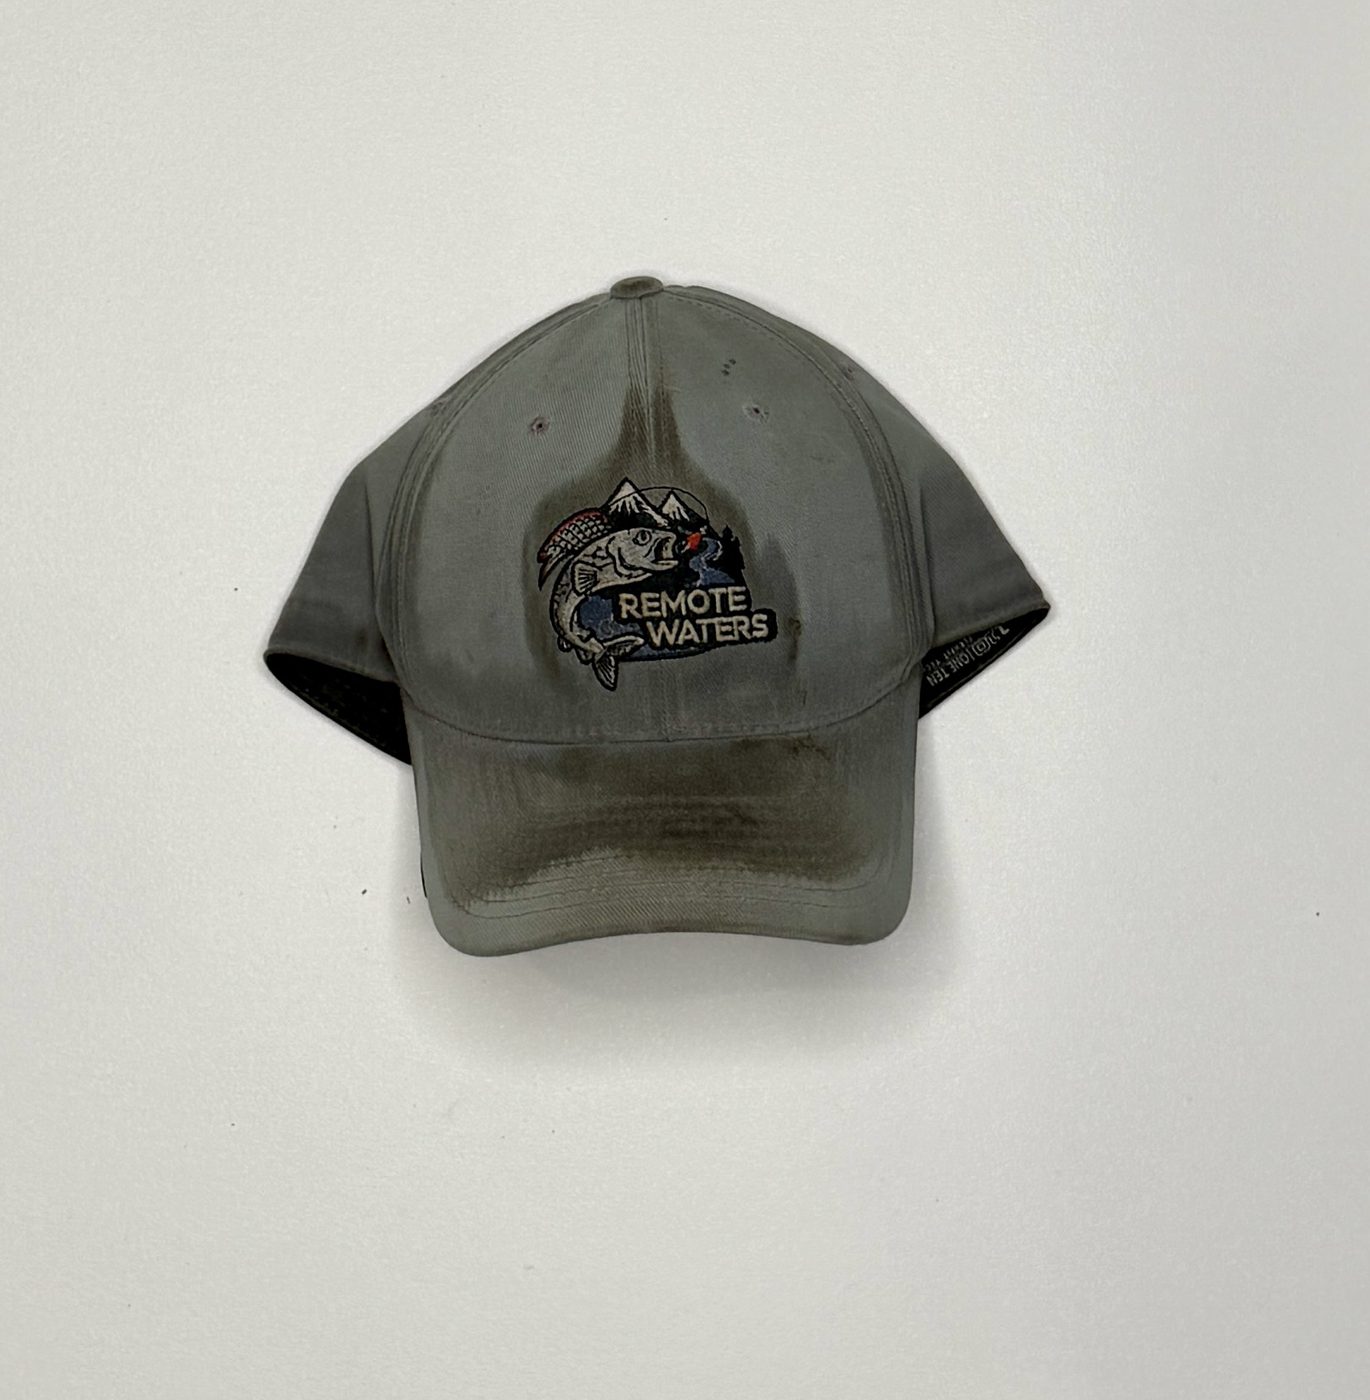
I wear a baseball cap all day, every day when I’m on the river.
Besides basic sun and rain protection, a cap works well underneath hoods and gives a headnet structure to keep the mesh away from your face. Avoid highly ventilated mesh-back hats if insects can bite through them.
A wider-brimmed hat is fine if that’s your preference, but I still like having a simple baseball cap available.
Shown: Remote Waters baseball cap
Other examples: Nothing else compares.
Warm Hat
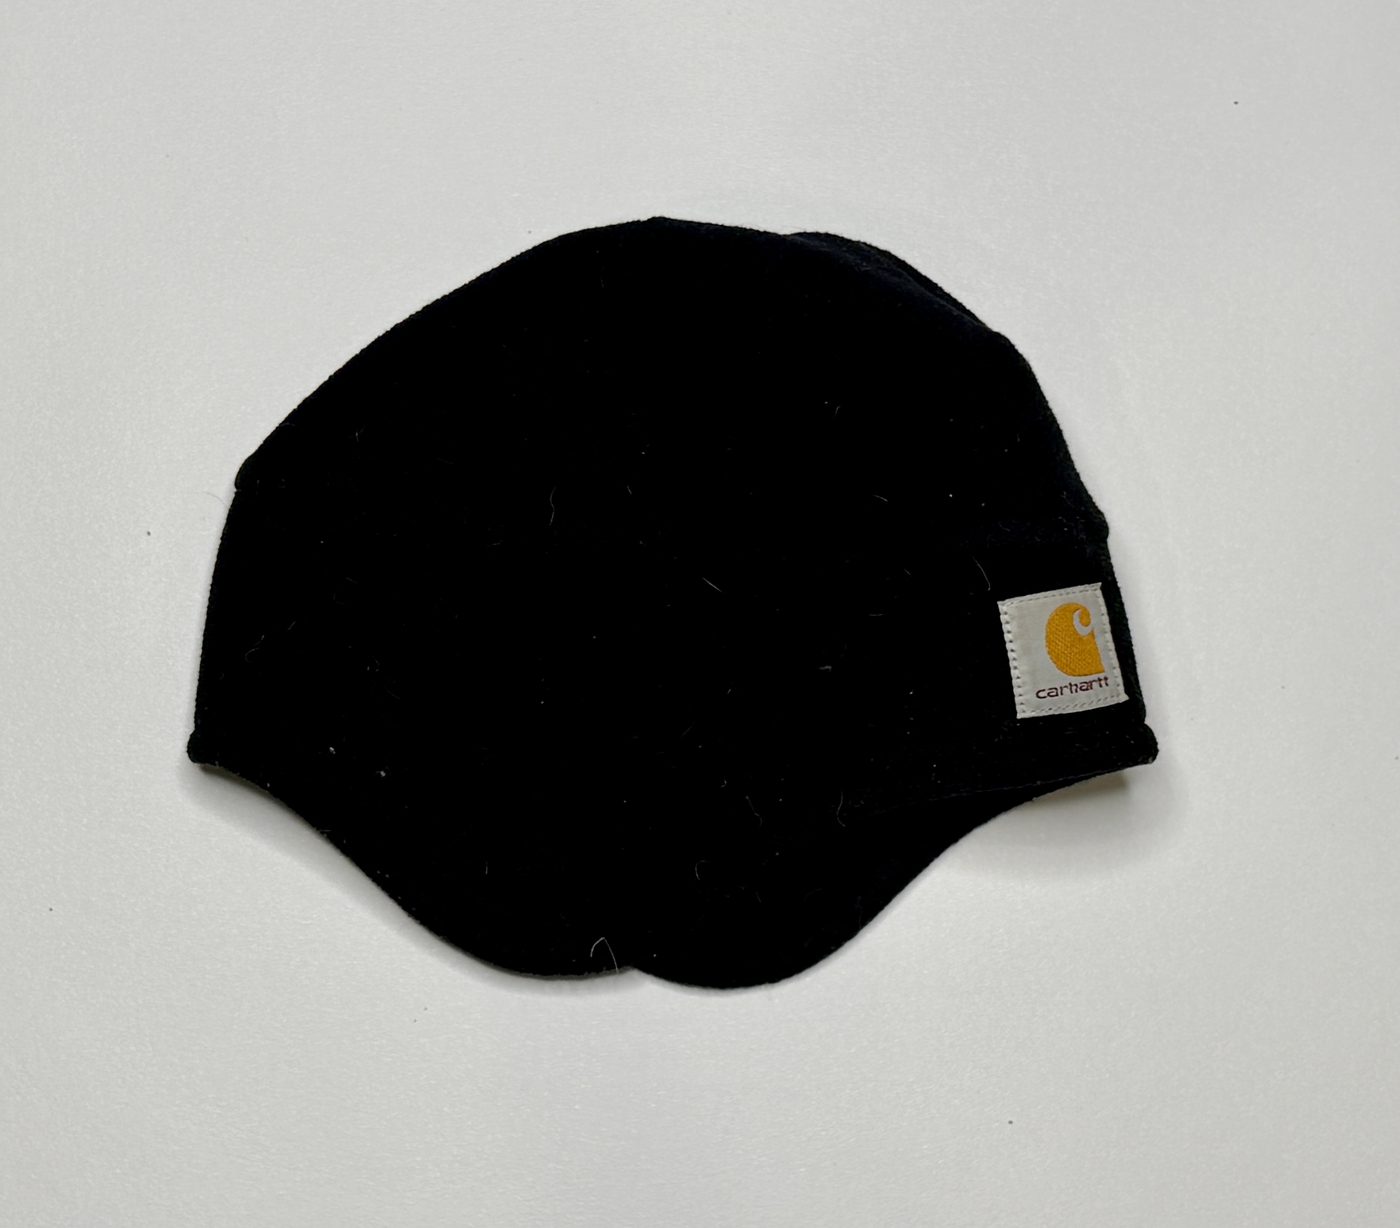
Bring a warm fleece or wool hat that covers your ears.
Nothing fancy required here. It should be comfortable enough to wear for long periods and to sleep in on cold nights.
Shown: Carhartt 2-in-1 Fleece Hat
Buff or Light Neck Gaiter
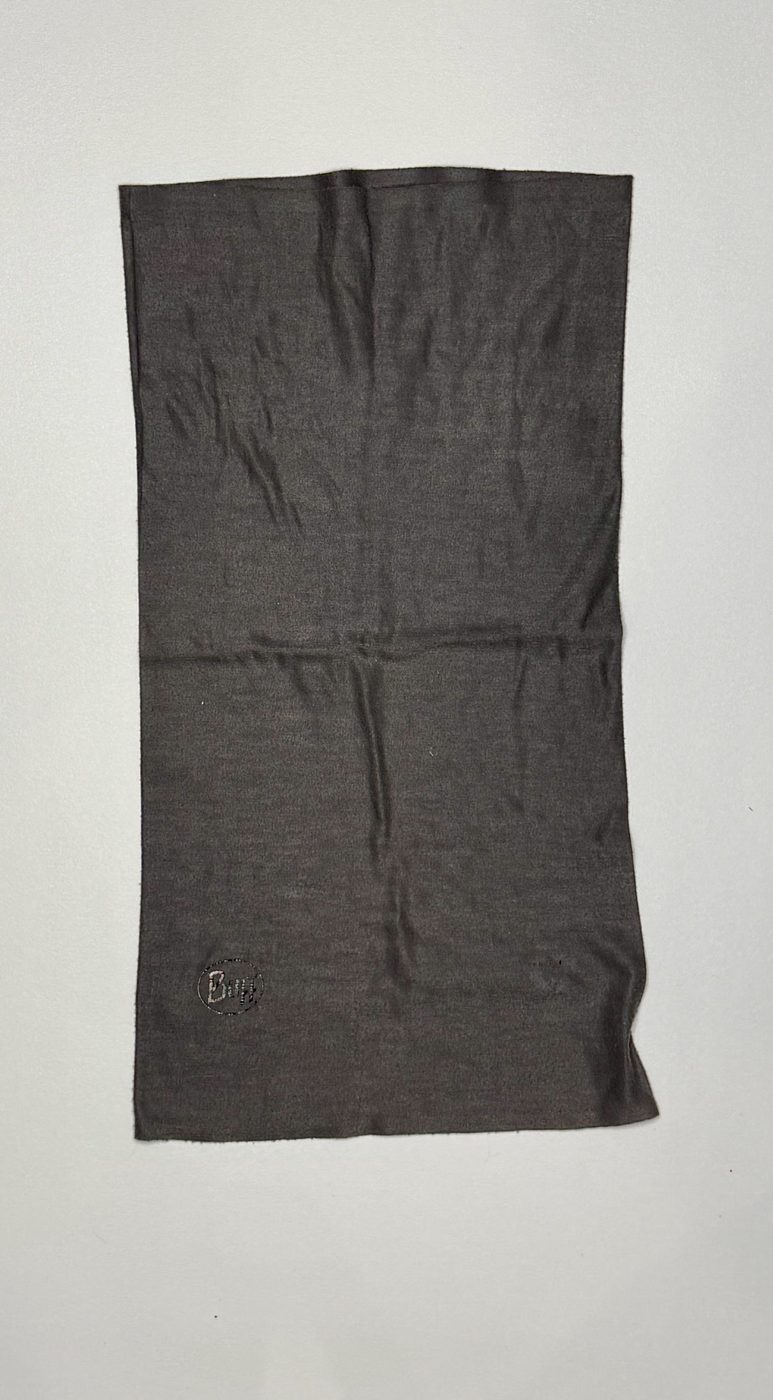
A light or midweight neck gaiter weighs almost nothing and provides useful protection from sun, wind, and insects.
I bring one on every trip.
Shown: BUFF Merino Midweight
Other examples: Smartwool Merino Neck Gaiter; REI Co-op Merino Wool Neck Gaiter; lightweight synthetic BUFF neckwear
Warm Neck Gaiter
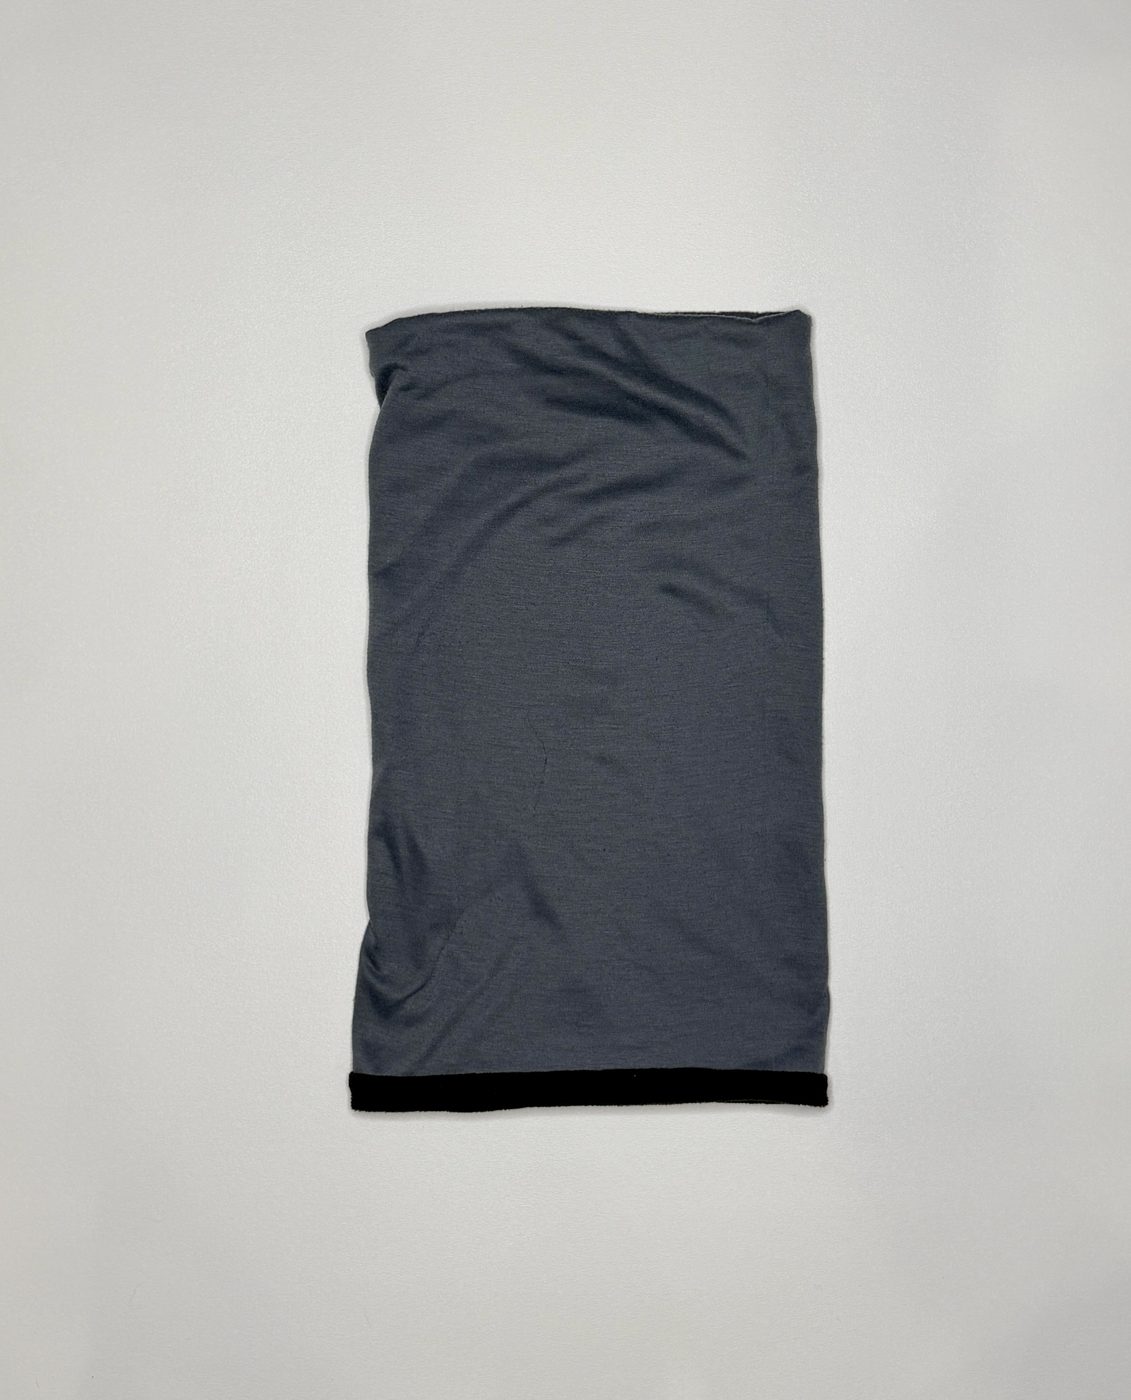
For later-season trips, I also bring a substantially warmer fleece neck gaiter.
This is particularly useful during cold, wet, and windy weather when exposed skin around the neck becomes surprisingly uncomfortable.
Shown: REI Co-op Polartec Fleece Neck Gaiter
Insulated Waterproof Gloves
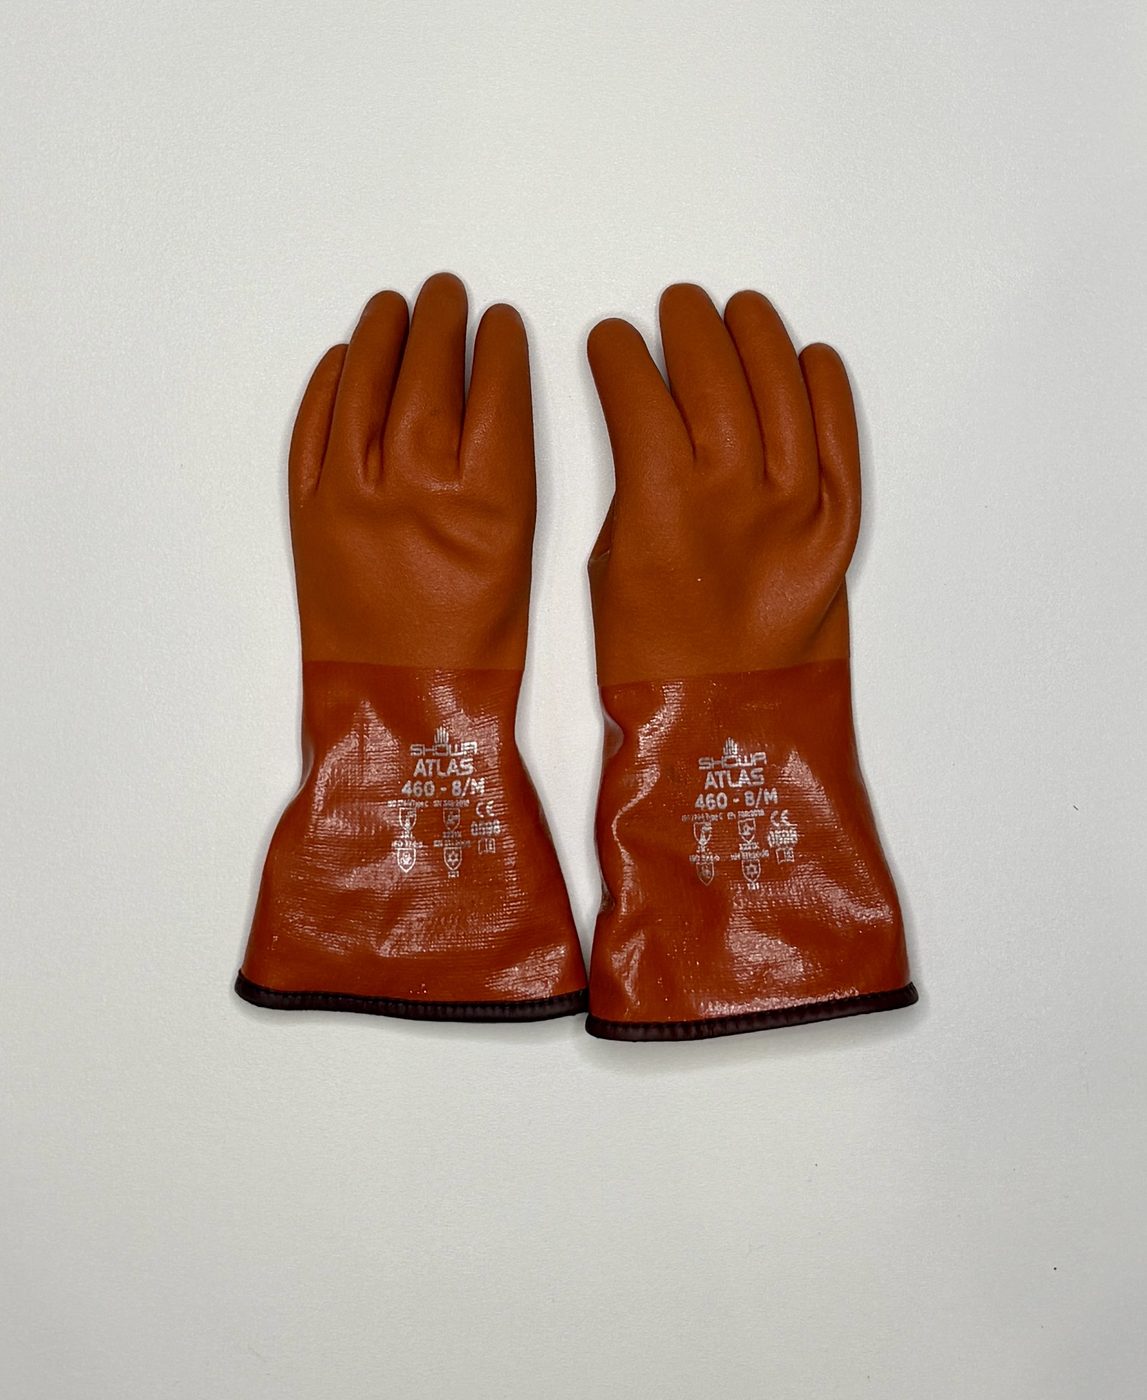
A pair of genuinely waterproof insulated gloves is extremely useful in cold, wet conditions.
These don’t need to be expensive fishing gloves. The pair I use is an insulated waterproof commercial fishing glove. They aren’t particularly elegant, but they’re warm, inexpensive, and completely waterproof.
Shown: SHOWA Atlas 460
Other examples: SHOWA TEMRES 282
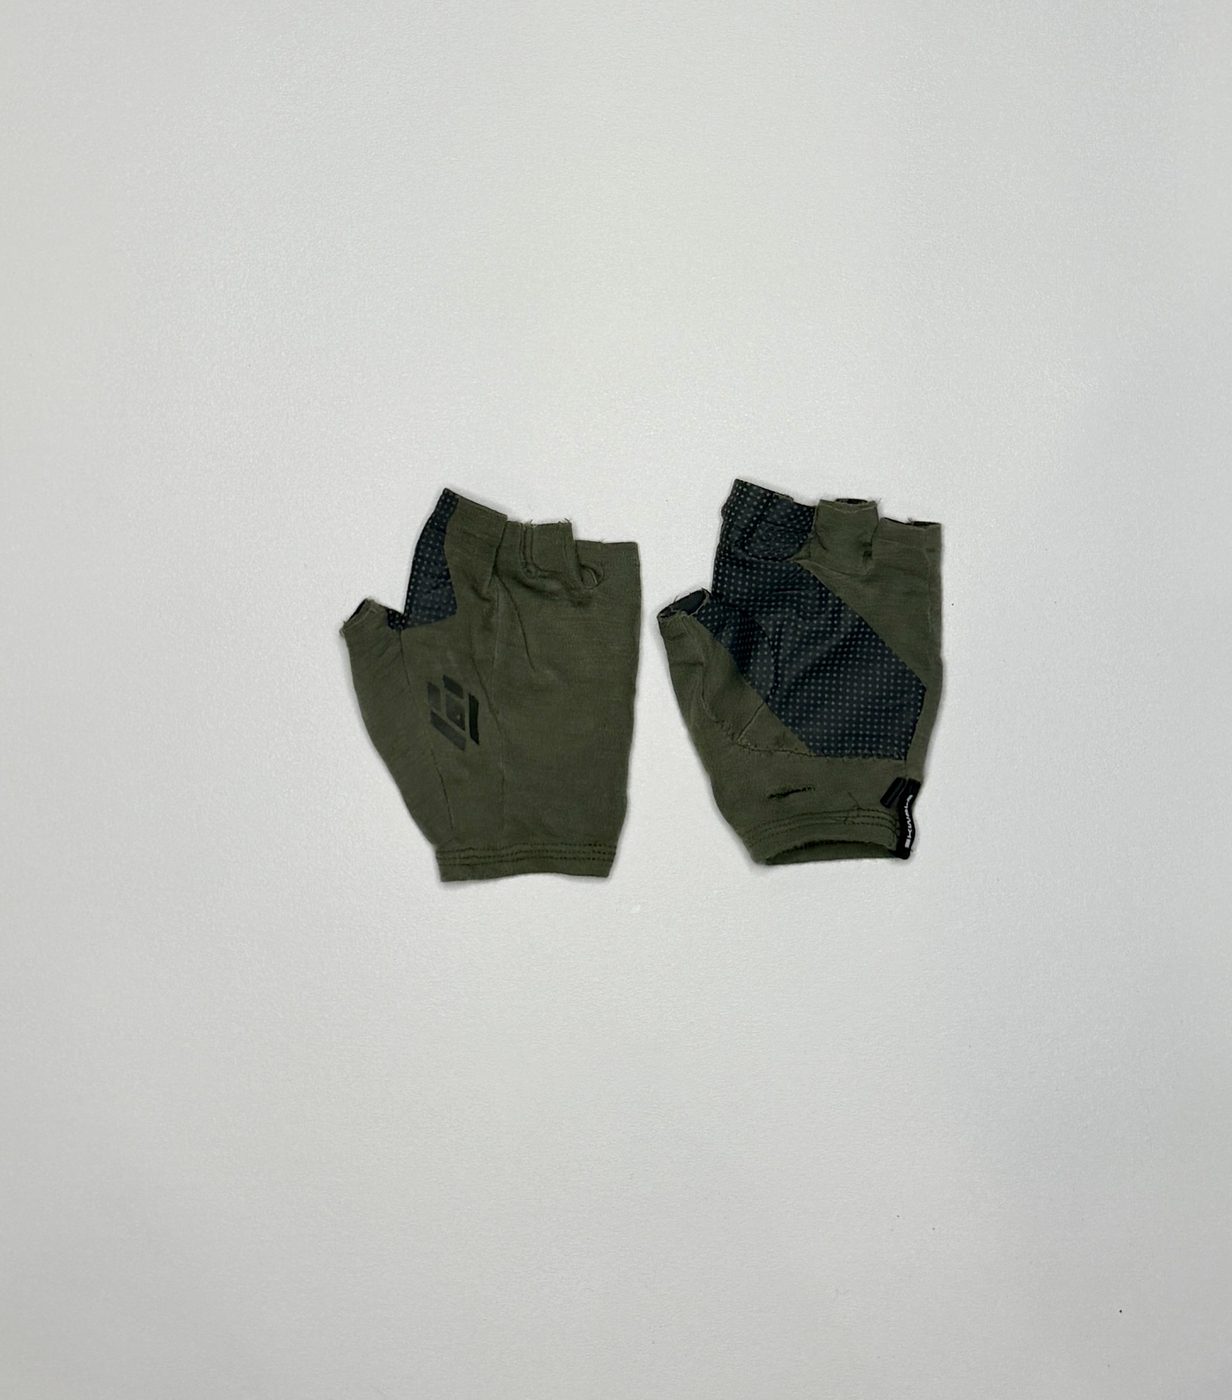
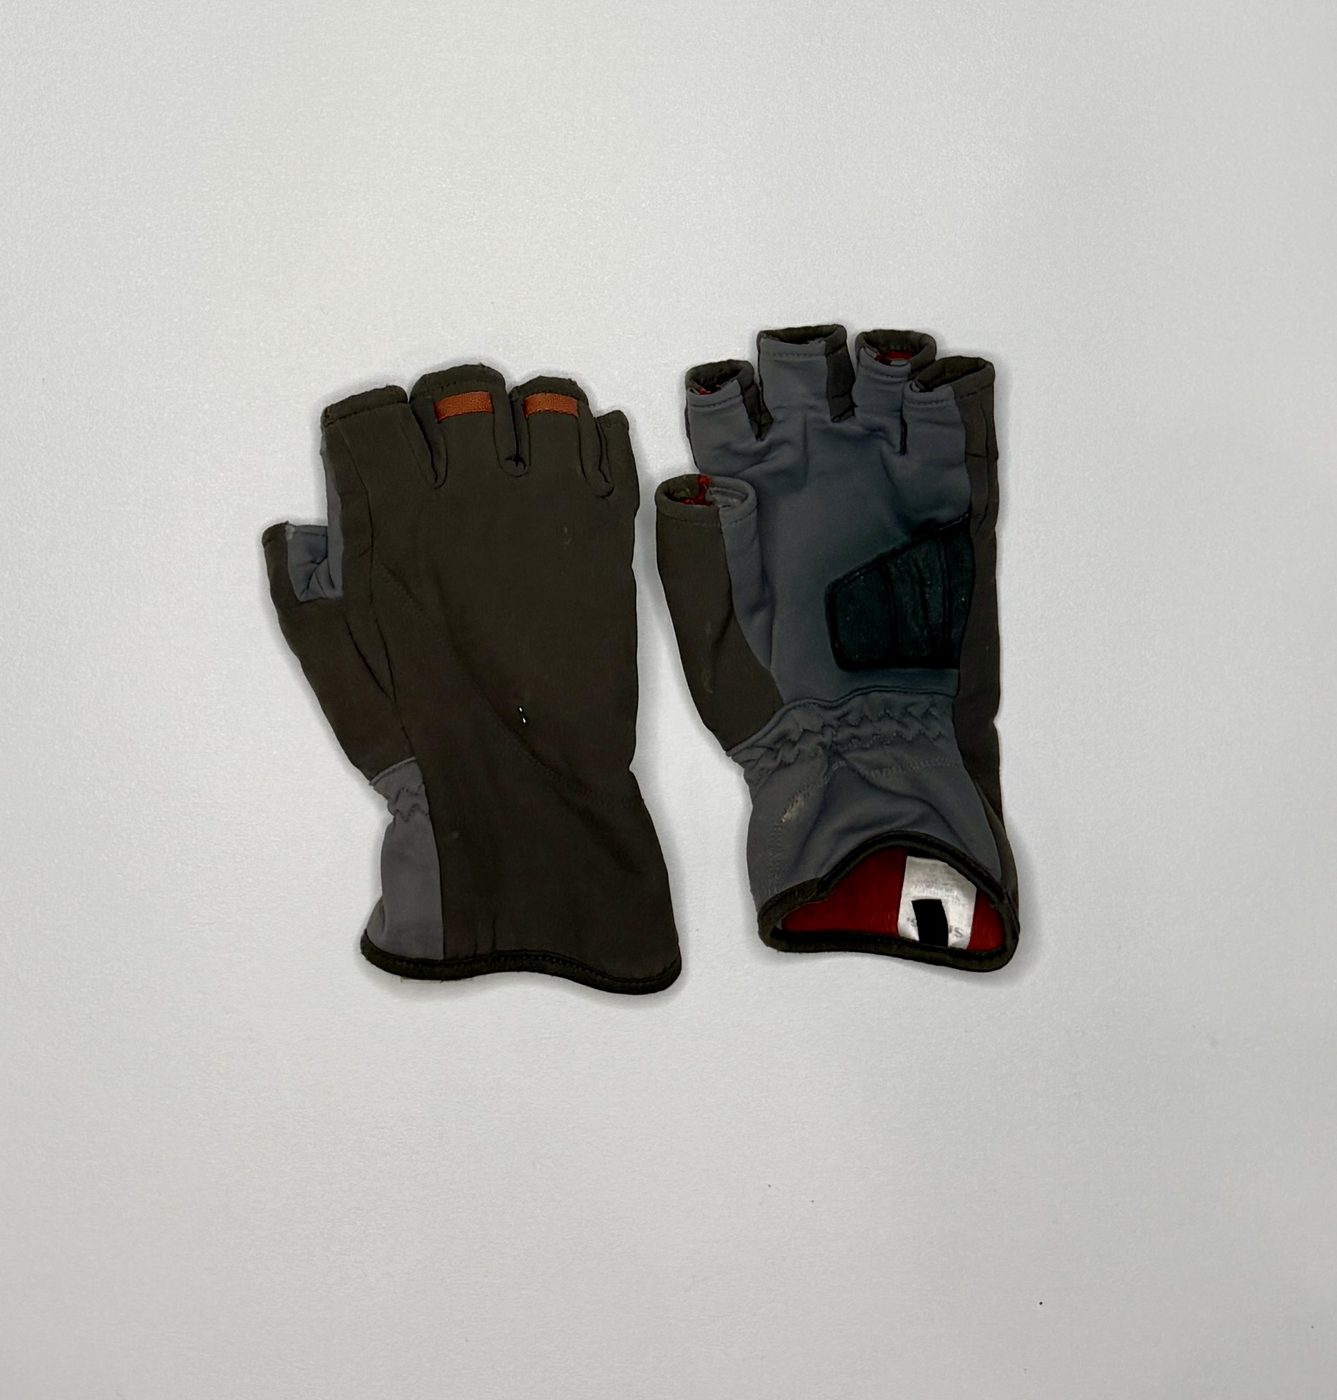
Fingerless Gloves
For fishing, I prefer fingerless gloves because they retain enough dexterity to cast, handle line, tie knots, and deal with fish.
I recommend bringing two pairs: a thin pair and a substantially warmer pair. Merino and fleece both work well.
Some fingerless gloves include a fold-over mitten. That’s a perfectly reasonable option, although I personally find the extra material more annoying than useful.
Shown: Skwala Thermo 300 Fingerless Gloves and Simms Freestone Half-Finger Gloves
Other examples: Orvis Fingerless Fleece Gloves
Camp Gloves
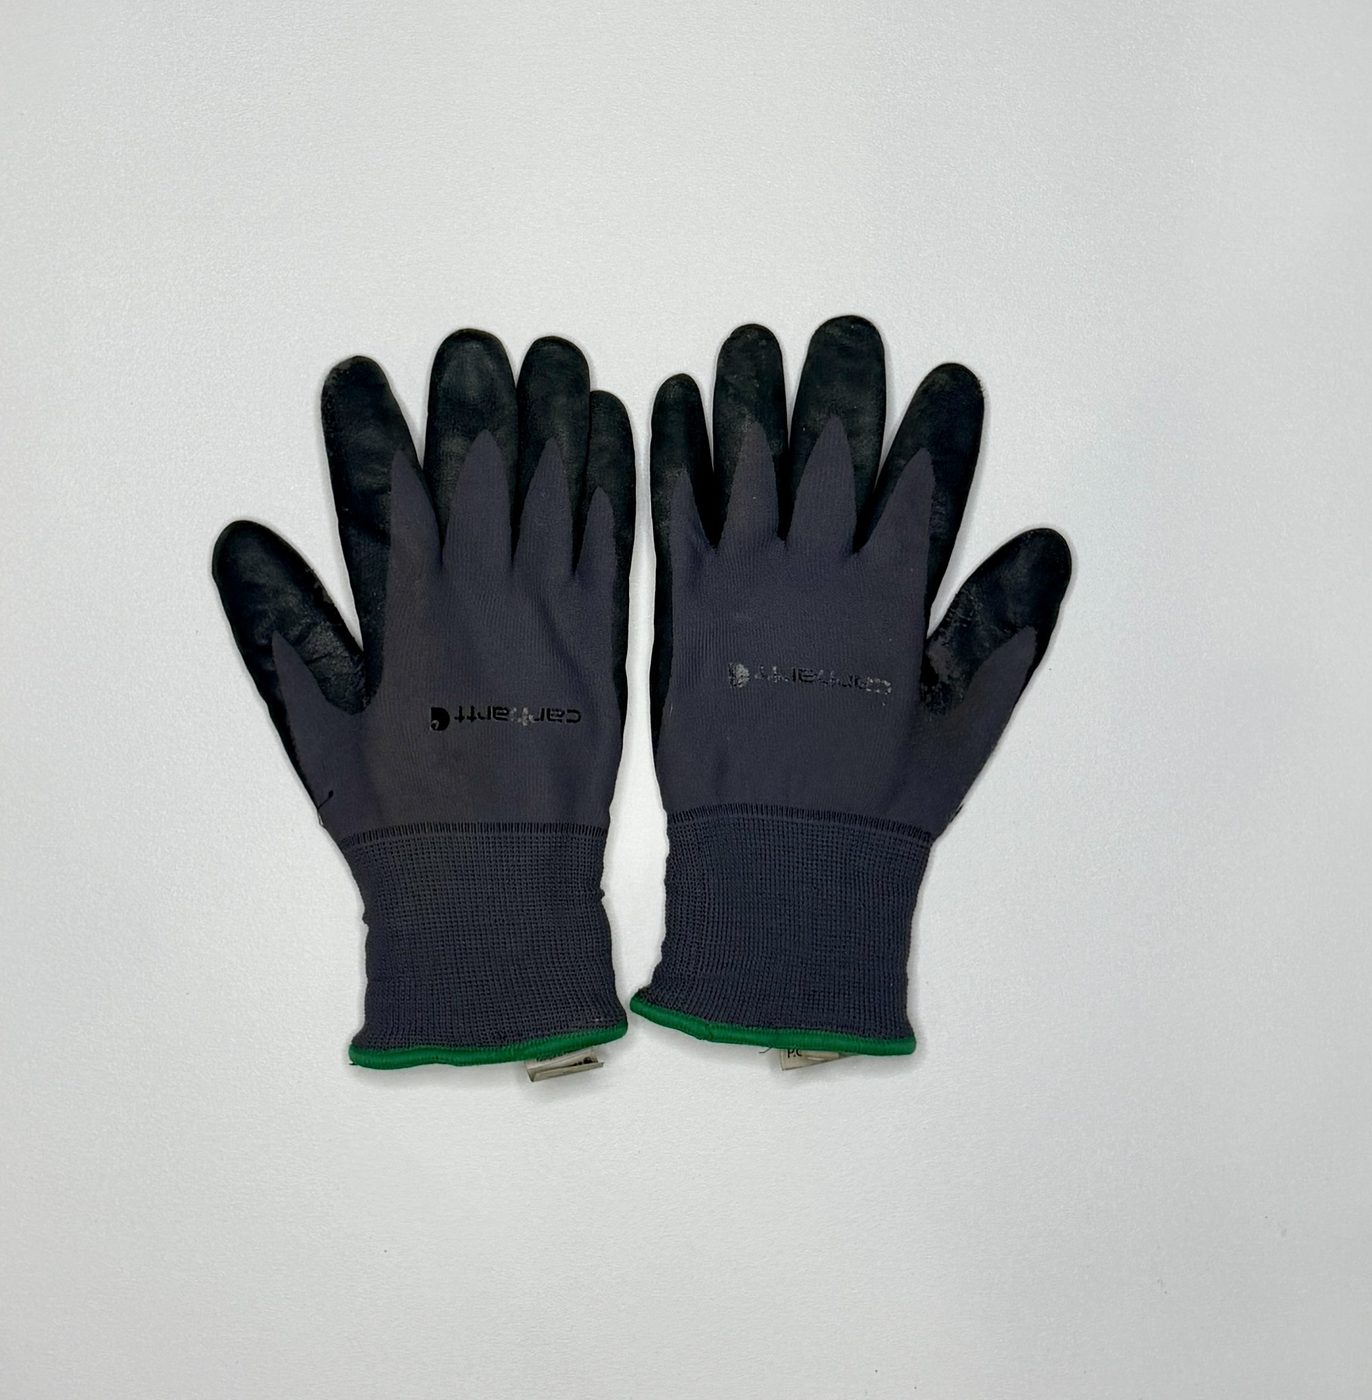
Your fishing gloves may be wet by the end of the day. Bring another pair intended to stay dry.
These don’t need to be expensive outdoor gloves. Simple work gloves with rubberized palms and fingers are durable, inexpensive, and perfectly adequate. An insulated version is useful later in the season.
Shown: Carhartt Thermal-Lined Full-Coverage Nitrile Gloves
Sleeping and Camp Comfort
Sleeping Bag and Compression Sack
I’ve used down sleeping bags on Alaska river trips for more than 25 years and still prefer them because of their warmth-to-weight ratio and small packed size.
I use both 25°F and 15°F bags depending on the trip and time of year. For colder late-season trips, I strongly favor the warmer bag. If you’re buying a bag specifically for an Arctic trip, err on the side of warmth.
Modern hydrophobic down provides some additional margin around moisture, but the sleeping bag still needs to be kept dry.
A good compression sack is important because bush aircraft and rafts both reward compact gear. A waterproof compression sack is even better.
Camp Pillow
Bring a lightweight camp pillow.
You can stuff clothing into a sack and call it a pillow. I’ve done it. An actual inflatable camp pillow takes up almost no room and I sleep considerably better with one.
Personal Essentials & Small Things Worth Bringing
No-See-Um Headnet
Bring a headnet made with no-see-um mesh on every trip.
Insect numbers vary tremendously with weather, location, and time of year. You may barely use it. You may be extremely happy you have it.
They’re tiny, light, inexpensive, and there’s no reason not to carry one.
Polarized Sunglasses
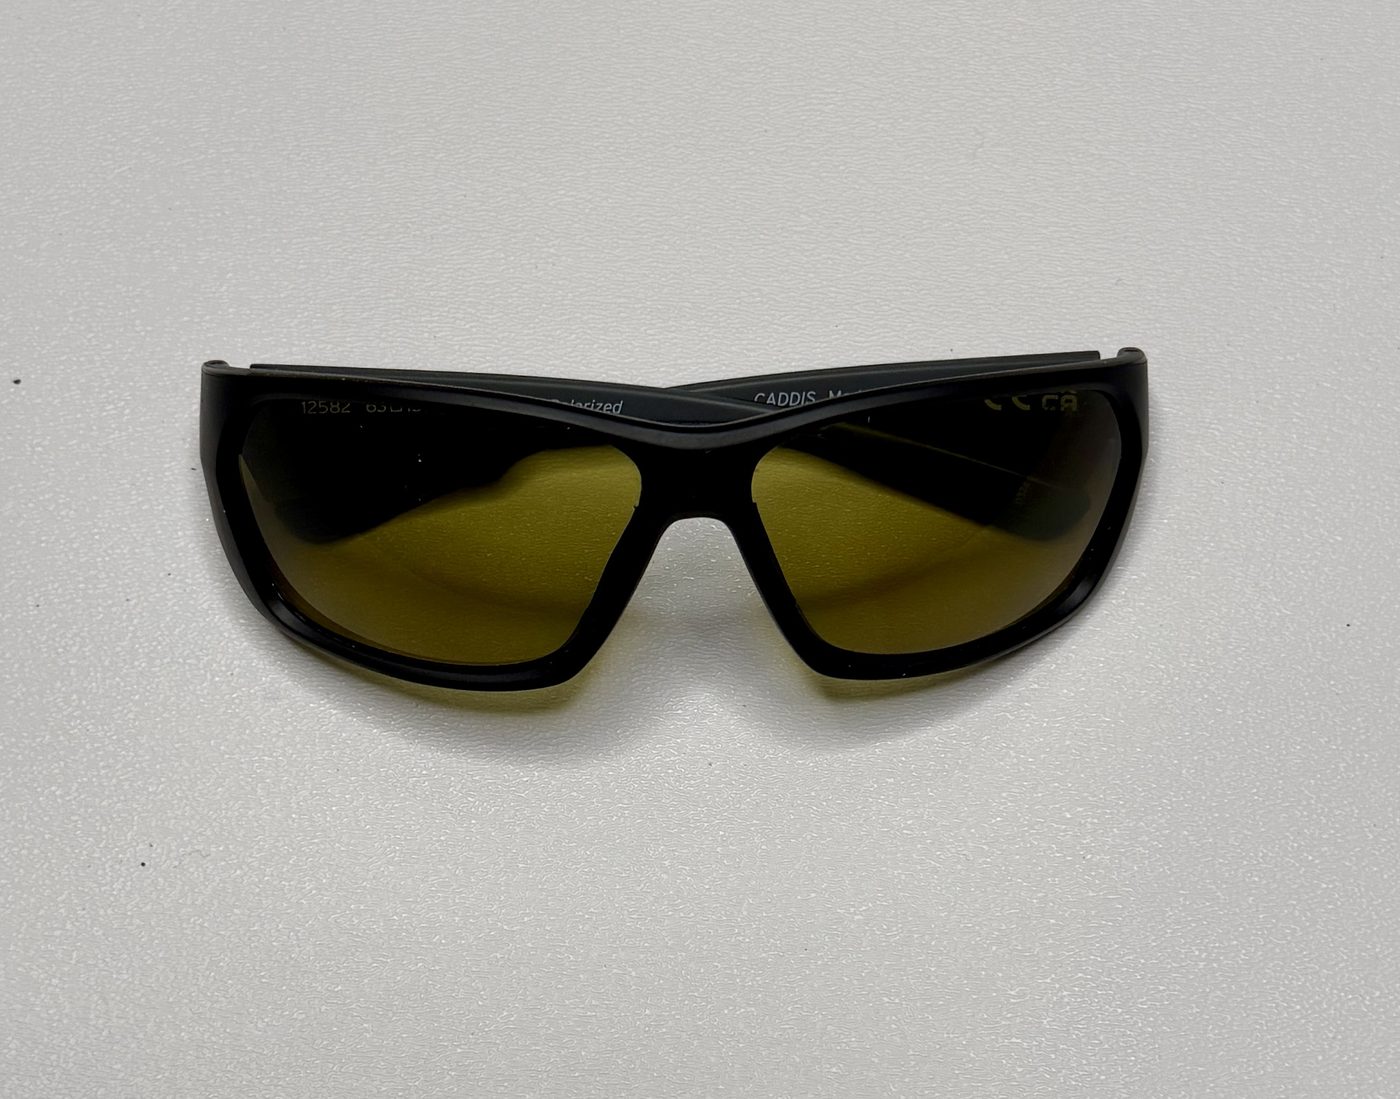
Polarized sunglasses are essential fishing equipment.
They reduce glare and make it easier to see into the water, but there’s also a safety reason for wearing them. When two anglers are casting from a 14- or 15-foot raft, eye protection from an errant fly is a very good idea.
I wear sunglasses every day on the river, including on rainy and overcast days. For that reason, I prefer lenses that are intended for use in low-light conditions (yellow, rose, light copper) rather than extremely dark lenses designed primarily for bright sun. If you are sensitive to bright sunlight, consider bringing a second pair with darker lenses.
Bring two pairs of polarized sunglasses so you have a backup if your primary pair gets damaged or lost.
Headlamp
During the height of summer, a headlamp may barely leave your bag. By late August, it becomes increasingly useful, and by September you’ll use one most nights.
You don’t need a massive searchlight. A simple, reliable, lightweight headlamp is plenty. Start the trip with fresh batteries or a full charge and bring an appropriate backup power source.
Power Bank
Phones, cameras, InReach devices, and other electronics all eventually need power.
I carry two 20,000 mAh Anker power banks. I can generally get through a trip on one, with the second serving as reserve capacity.
You don’t necessarily need that exact setup, but bring enough power for the electronics you’re relying on for the duration of the trip.
Chemical Hand Warmers
I’ve begun to add disposable chemical hand warmers to my gear bag. A pair for each day of the trip, plus a few extras.
They’re cheap, light, and take up very little space. On a raw day, putting one in each jacket pocket can make a surprising difference.
Sometimes the difference between comfortably continuing to fish and spending the afternoon with your hands jammed into your armpits is a couple of HotHands.
Sunscreen and Lip Balm
Bring sunscreen and SPF lip balm. Even when temperatures are cool, you’ll spend long days outside with considerable exposure from both direct sunlight and reflection off the water.
Insect Repellent
Bring a small bottle of insect repellent. Bug pressure varies considerably by trip, weather, and time of year, but when mosquitoes are bad you’ll be glad you have it. This works together with your headnet and clothing rather than replacing them.
Water Bottle
Bring a durable personal water bottle that you can keep accessible during the day. There’s no need for anything elaborate or particularly large. A 20-40 ounce bottle is perfect.
Small Personal Dry Bag or Waterproof Pouch
Bring a small waterproof bag or pouch for the personal items you want accessible during the day: phone, wallet, medications, spare glasses, and similar items.
This is separate from the larger dry bags used for your main clothing and equipment. Think small, accessible, and easy to keep track of in the raft.
Spare Prescription Glasses or Contacts
If you depend on prescription glasses or contact lenses to function normally, bring a backup.
A wilderness river trip is a particularly inconvenient place to lose or break your only pair of glasses. Keep the backup protected and separate from the pair you’re wearing.
Basic Toiletries
At a minimum, a toothbrush. Please.
Keep this to the basics. Everything should fit in a small bag. Toiletries will go into a bear-resistant storage box at night. Don’t forget to include personal medications in sufficient quantities to last the duration of the trip, plus a few extra days.
Small Towel
Bring a small, quick-drying camp towel. There’s no need for a full-size bath towel. Something compact is useful for washing up, drying gear, and generally dealing with life in a wet camp. An REI Multi-Towel or something similar works great for this.
Keep the System Simple
The point isn’t to bring a lot of clothing. It’s to bring the right clothing.
A relatively small collection of well-chosen layers can cover an enormous range of Arctic conditions if the pieces work together. That’s easier to pack, easier to manage in the raft and camp, and much better suited to the weight restrictions of bush aircraft than trying to pack a fresh outfit for every day.
Just as important is knowing how to use the system.
In the next post, I’ll get into how I actually manage these layers during a trip: what I wear in different conditions, what stays immediately accessible in the raft, how I deal with wet gloves and clothing, and some of the small routines that make a cold, wet river considerably more comfortable.